


Install/How-To/Blog
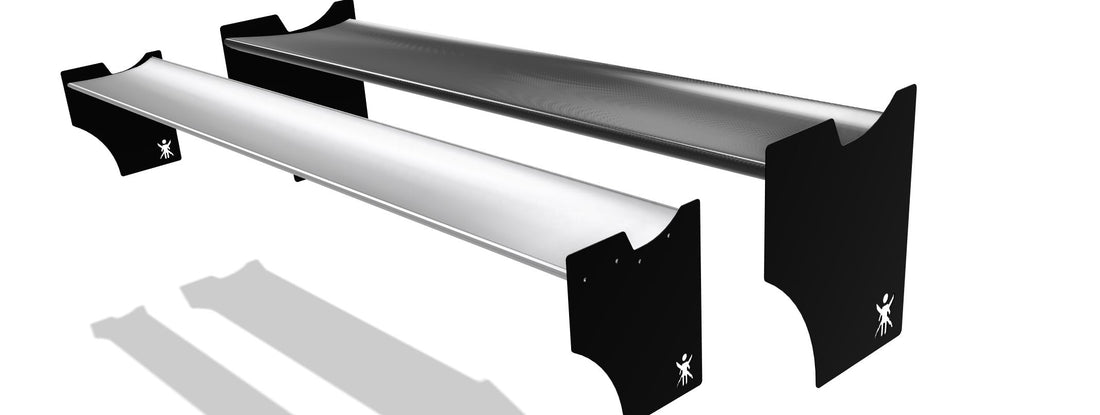
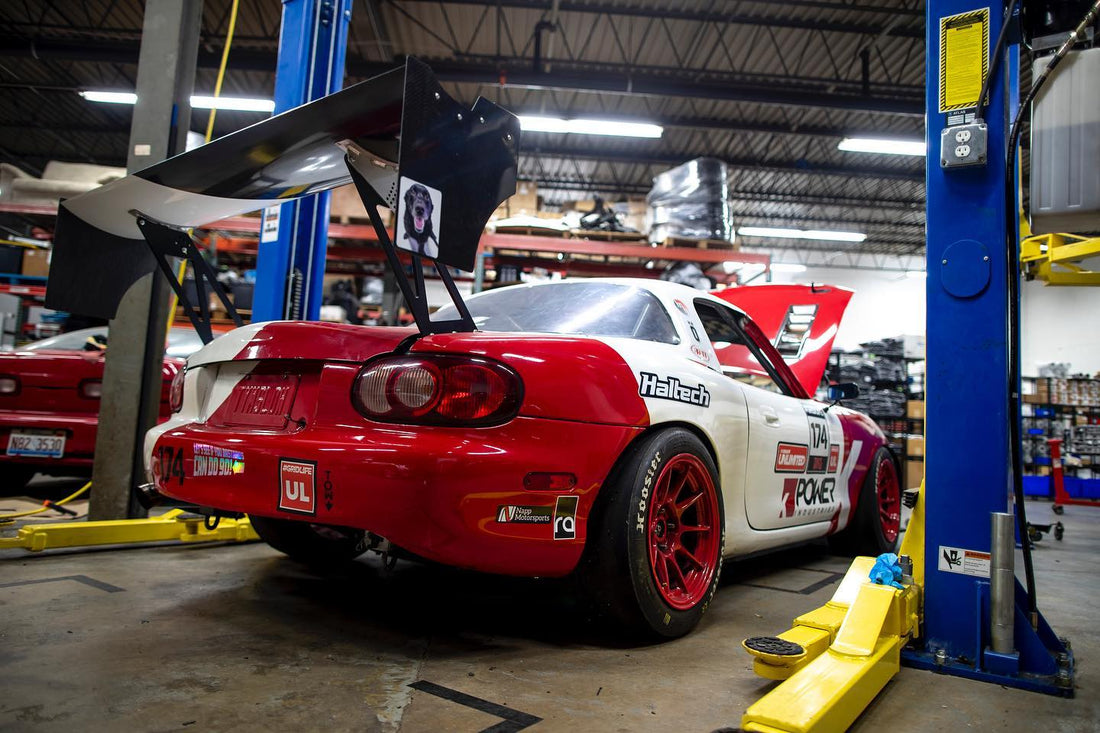
1989-1997 NA Miata “Big Wang” Install
1989-1997 NA Miata “Big Wang” Install
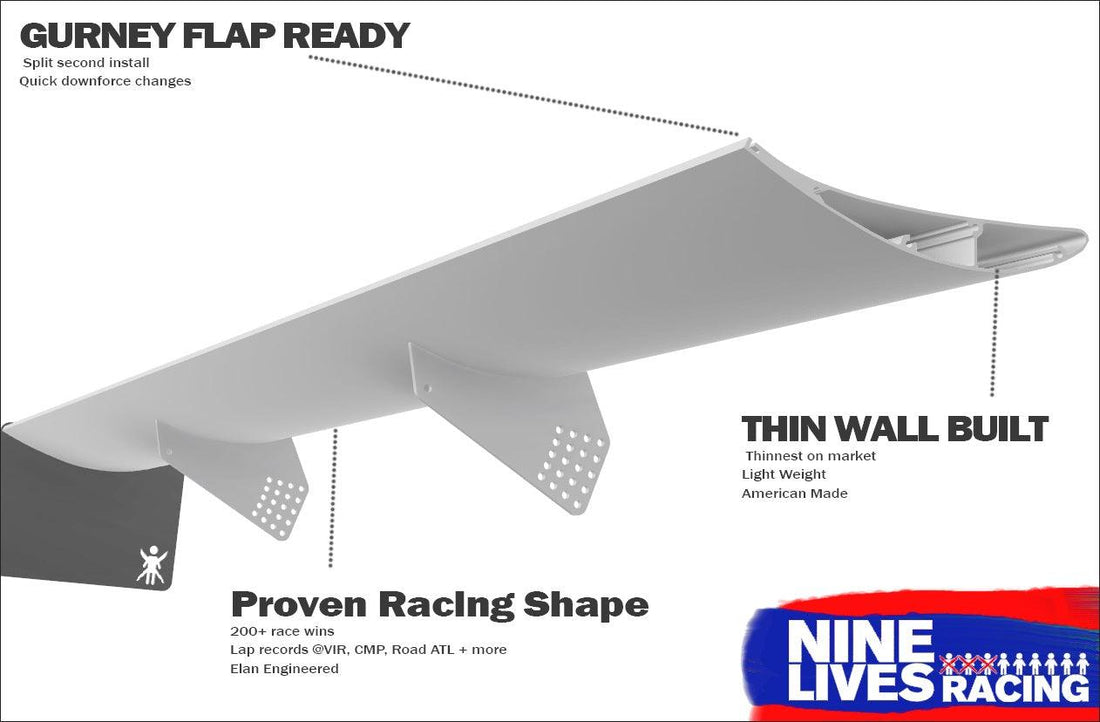
Installation of this kit: NA/NB Big Wáng kit
Chris Wells did us all a favor and wrote a very comprehensive install PDF. We can't thank him enough. Please enjoy.
PDF link:
https://drive.google.com/file/d/0Bz67hx05pLKbRWlxRTRnZjRYUmRoZWh1YWx6ZXJGUVUxM09z/view?usp=sharing&resourcekey=0-2vGnxHr-PdO8CWUhlxg85w
![]()
1989-1997 NA Miata “Big Wang” Install
(May apply to the 1999-2005 NB chassis, but cannot verify)
Tools Required:
10mm socket
3/8” socket and/or wrench
7/16” socket and/or wrench
1/2” wrenches (2)
Drill and 1/8” & 3/8” drill bit
Center Punch
1/8” Hex key
Dremel with metal cutting blade or another tool to cut sheet metal (trunk lid)
Safety glasses
Painters (blue) tape
Marker/Sharpie
Tape measurer
Step 1: Organize the parts from the kit
Nine Lives Racing did a phenomenal job packing everything and made sure the equipment was safe for shipping. I appreciate how they protect the wing itself.

Then I organized all the parts on a couple of work tables.

Step 2: Remove trunk lid
Use blue tape to mark the location of the hinges to the trunk lid. This will make the reinstall of the trunk lid easier and not require much adjustments later. I take a large towel and place it at the bottom of the rear cowl to protect the paint in case the trunk lid happens to fall.

Use the 10mm socket and ratchet to loosen the 4 nuts (see red arrows in Photo 1). Make sure you use a free hand or have a buddy help catch the trunk lid as you remove the last nut. You don’t want it to fall and damage anything. Trunk removed in Photo 2.
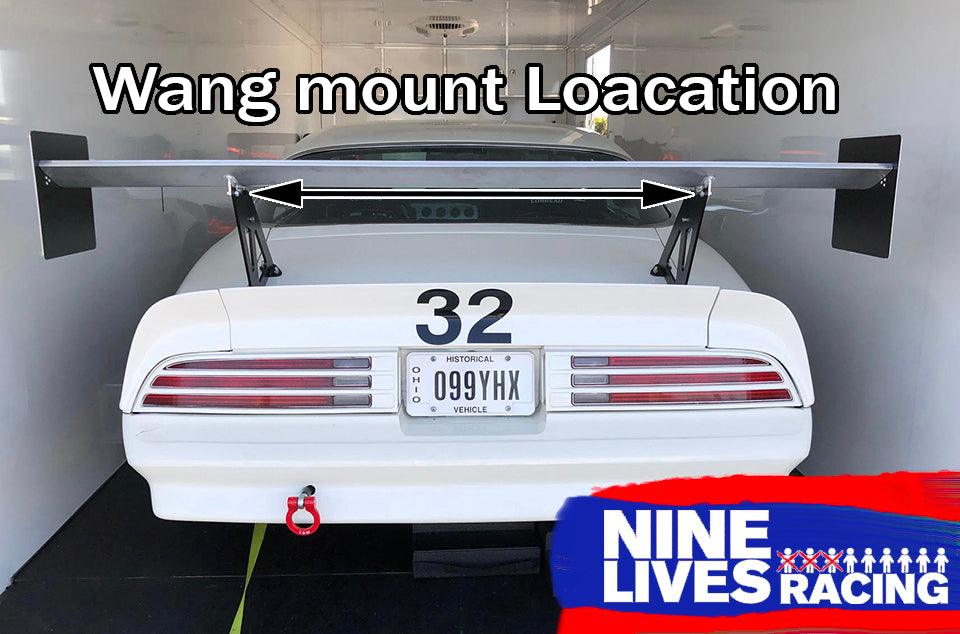
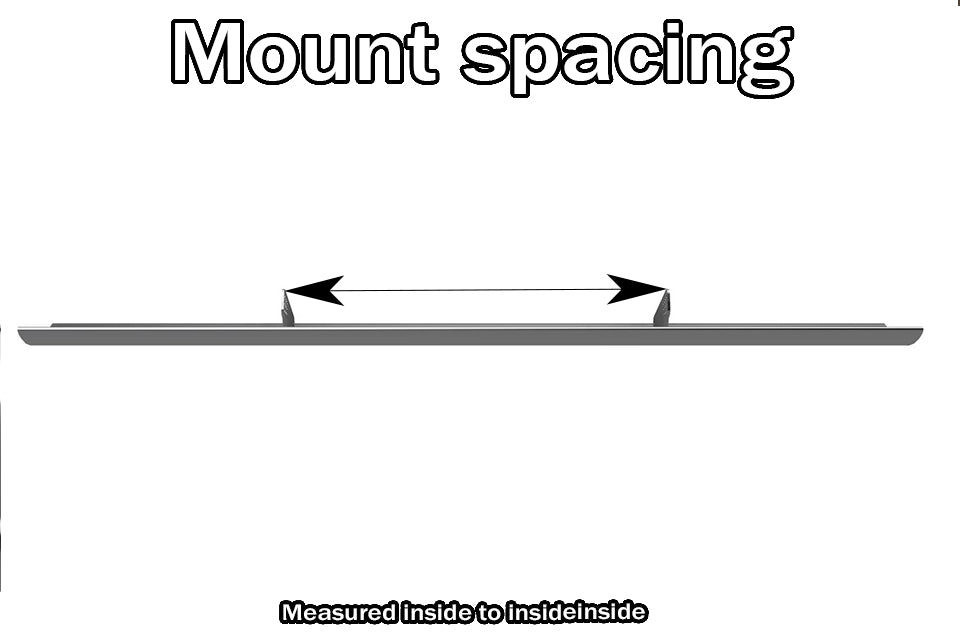
Step 3: Measurement for upright location
Grab the Painter’s (blue) tape, tape measurer and a sharpie.
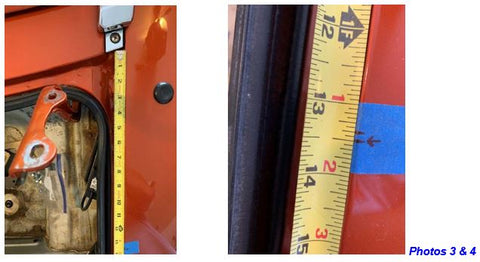
From the back corner of the trunk opening measure to a point that is 13”-14” from that corner. Place a small strip of painter’s tape to the upper fender. Use the Sharpie to mark the front of the upright at 13 ½” (photos 3 & 4).
This is a location that I felt looked the best and placed the upright the furthest back with still getting access to the bolts inside the trunk. Look at picture 5 to see where the 13 ½” mark relates to the upright. The upright is sitting on the bottom lip of the rain rail.

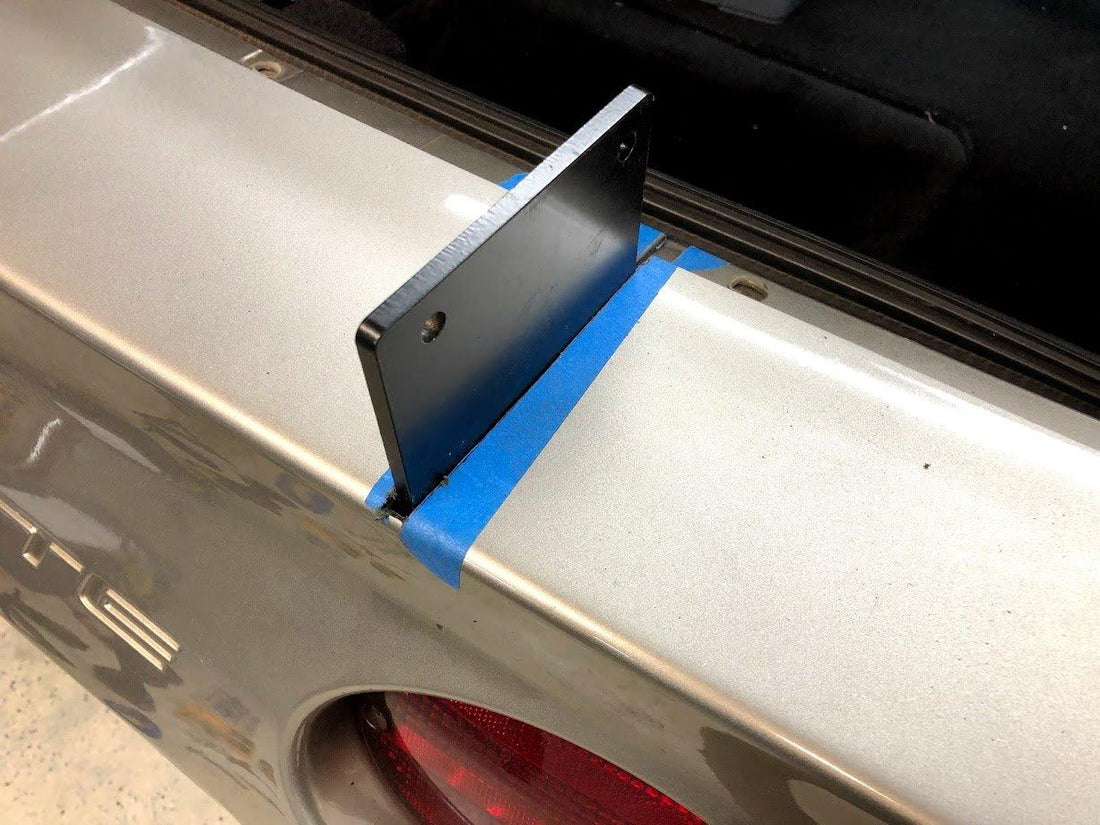
Step 4: Drill mounting holes for upright
Grab the painter’s tape, tape measurer and sharpie again. Along with a center punch, drill, an 1/8” drill bit to start the hole and a 3/8” drill bit for the actual hole.
Add a long piece of painter’s tape from the 13 ½” location already marked to the end of the trunk space.
Use the “wedge shaped” spacer that’s included with the Big Wang kit to mark the location of the 3 holes needed to install the upright. I placed the wedge piece as close to the bottom as I could. Then use the center punch and 1/8” drill bit to start the holes. Followed by the 3/8” drill bit. This metal is fairly thick, so be patient. Also do your best to push the weather strip down as far as possible to make sure the drill does not rub against it. See photo 9 of my slightly damaged weather strip.

Step 5: Mounting the upright
You’ll need the large bolts & nylock nuts as well as the plastic wedge shaped spacer provided in the kit for this step. I was not able to use the washers that were included due to space limitations. Place the wedge spacer between the upright and the fender with the thicker edge towards the taillights (see photo 12). Slide the bolts through the upright, wedge spacer and the fender and finger tighten the nylock nuts. Then use the wrenches to finish the job. I had to use two (2) ½ inch open end wrenches for this step (photo 10) and left them slightly loose until everything was installed.

Here is the side view with it mounted. Seems to flow well with the body lines:

Step 6: Duplicate steps 3, 4 & 5 for the driver’s side.
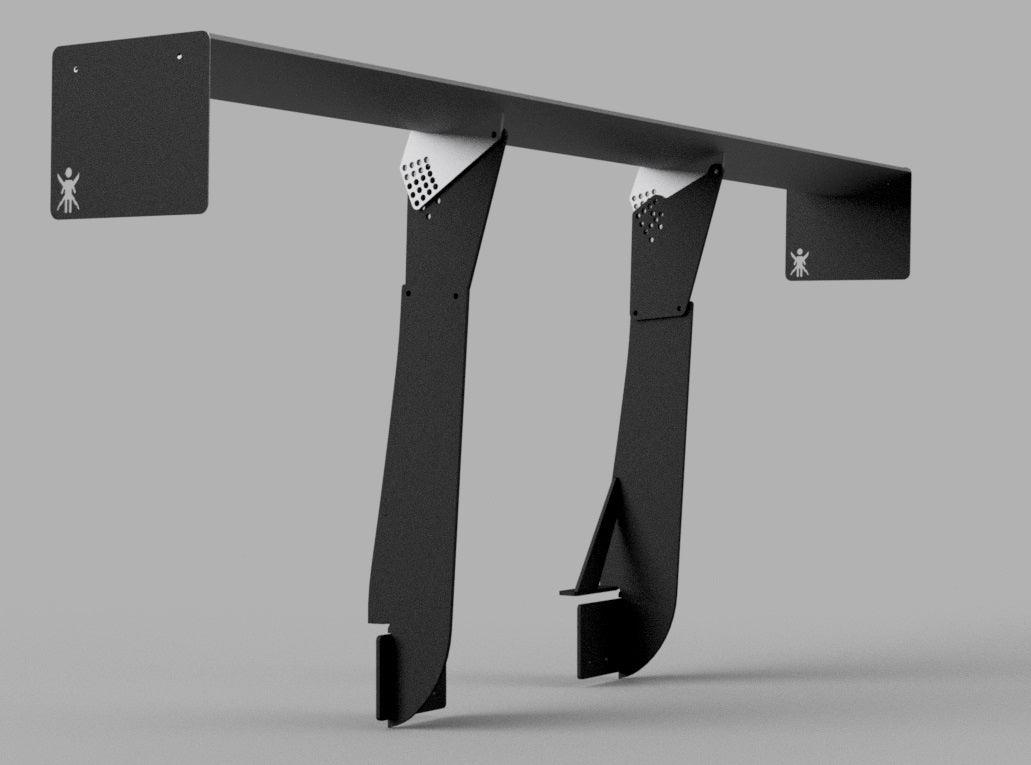
Step 7: Mounting the wing.
Grab a friend to help hold the wing while you install the smaller bolts and nuts. You’ll need the 3/8” wrenches here. I kept the protective materials on the wing to keep finger prints off it. Remember that you left the upright bolts loose because you’ll need to push them in to attach the wing. There is only 1 hole for the rear mounting point (Photo 14):
Determine which holes you want to use at the front of the wing to create the angle you prefer. At the moment, I have it as the lowest drag setting [about 4 degrees] (Photos 15 & 16):

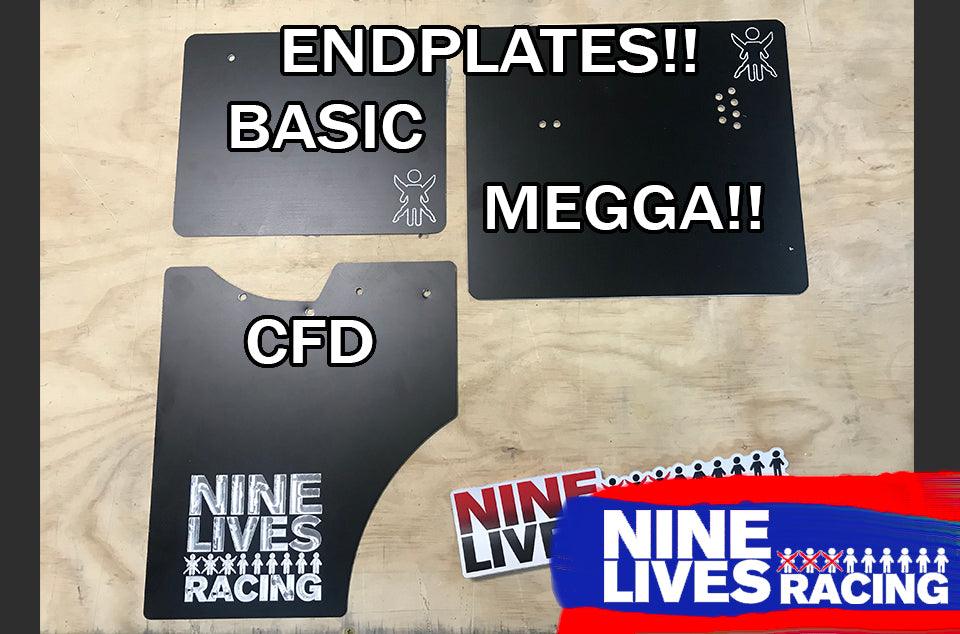
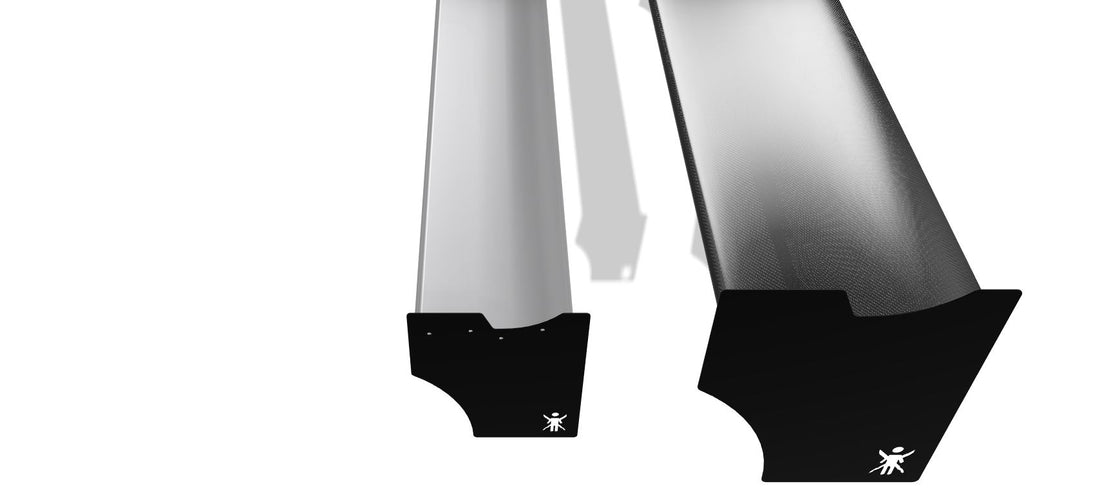
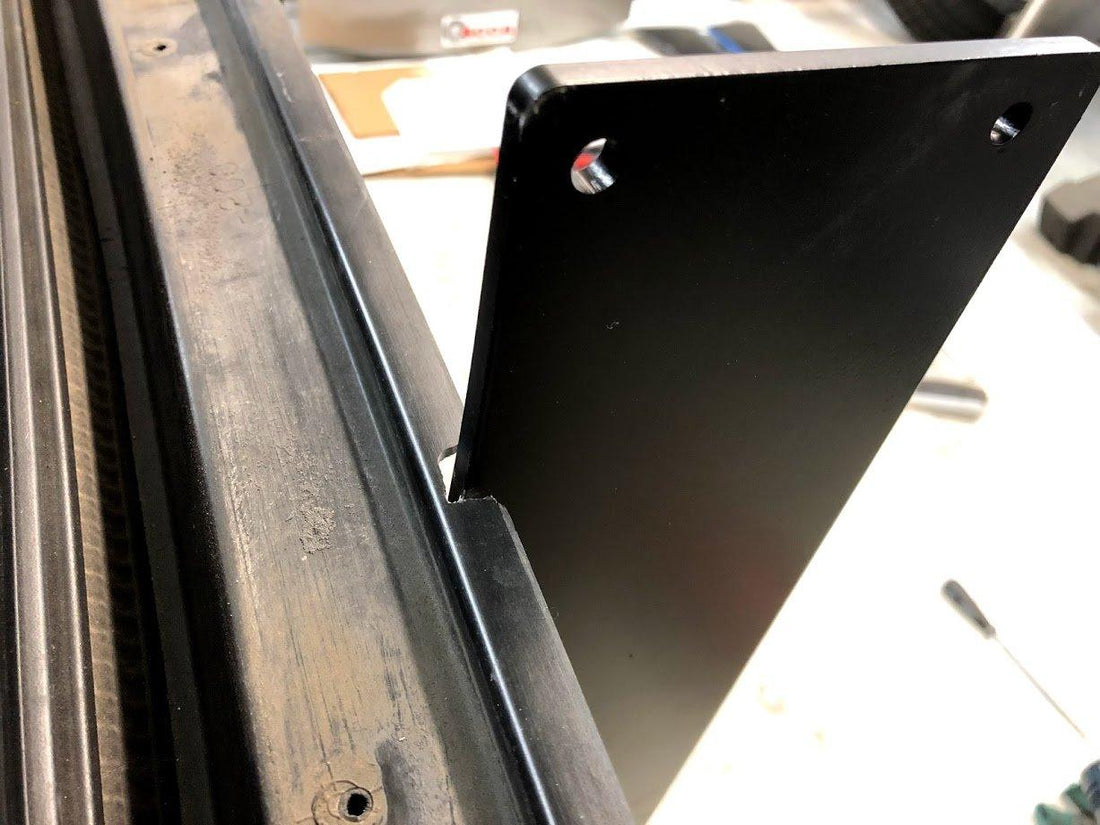
Step 8: Mounting the end plates
You’ll need to remove the 4 bolts holding the wood used for shipping that protects the wing. This requires an 1/8” Hex key. The new end plate provided in the kit only requires 2 of those bolts. The red arrows show which mounting holes are used (Photos 17-19).

And the end plate installed:

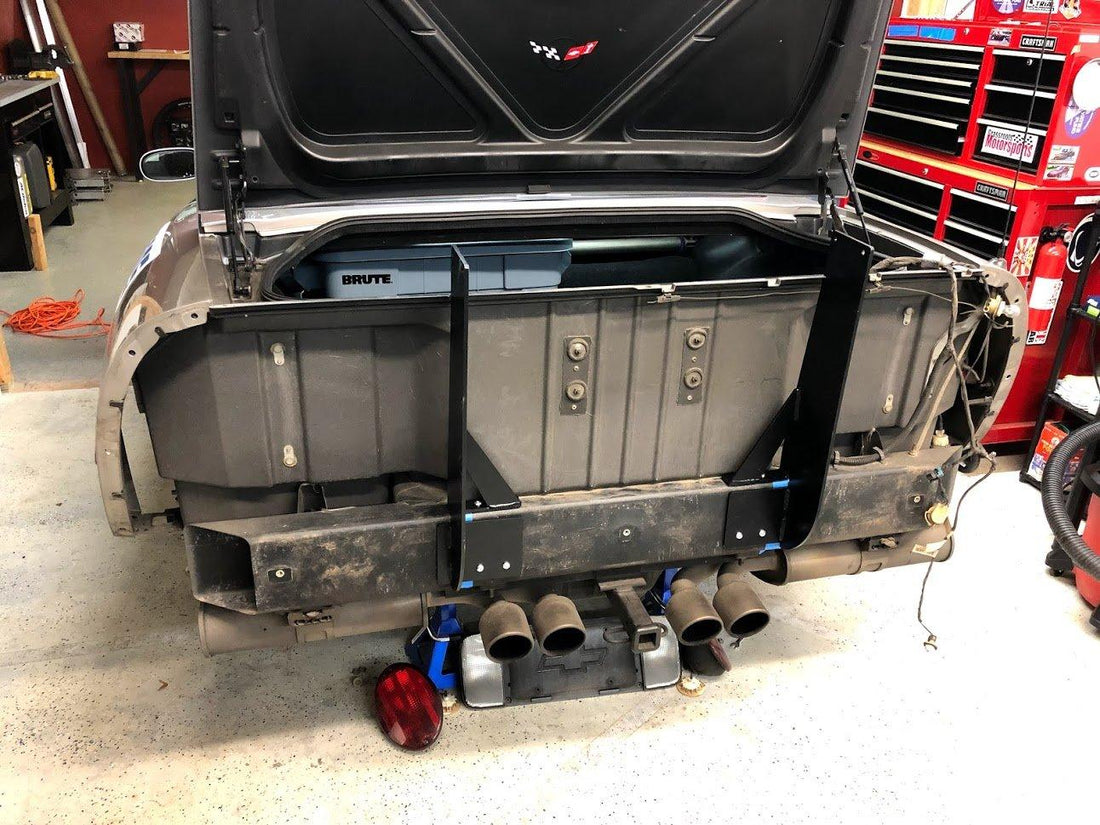
Step 9: Modify the trunk lid
Thankfully I had a 2nd trunk lid, so I didn’t have to modify my nice one that matches the color of the car. This was a cheap trunk lid I bought to race with an organization that wouldn’t allow me to have the factory spoiler because it was considered ‘aero’. I put a vinyl “carbon fiber look” wrap on it because the red paint didn’t match my car.

Tools for this procedure are:
Protective eyewear
Painter’s tape
Measuring tape
Sharpie marker
Dremel
***Take your time with this part. The measurements I’m providing are approximate and I highly suggest you do your own measurements. I feel I made an error measuring from the body of the car to the upright and forgetting about the gap between the body and trunk lid.
Measure 13” from the back of the lid and place a piece of tape and mark it with the Sharpie (Photos 22 & 23).

The measurement I used here was 3/4” for the width of the upright and bolts. However, after I installed the trunk lid (see photos 30 & 31), I realized the bolt heads do not hit the trunk lid, so you could reduce a 1/4” from this and only trim 1/2” off the trunk lid.

I covered the area to be trimmed with painter’s tape and marked a line to use as a guide for cutting (Photos 25 & 26).

There is a lip on the underside of the trunk lid that is approximately 3/4” from the outside edge and this is the area you are about to remove (Photo 27).

Put on your safety glasses and grab your Dremel. Then start cutting both sides of the trunk lid (Photos 28 & 29).

Step 10: Reinstall the trunk lid
Get the 10mm socket and ratchet to install the modified trunk lid. You’ll have a little more of a challenge working around the Big Wang, but this step is pretty straight forward. Hopefully, you took my advice and used the painter’s tape to mark the location of where the trunk lid mounts to the supports.
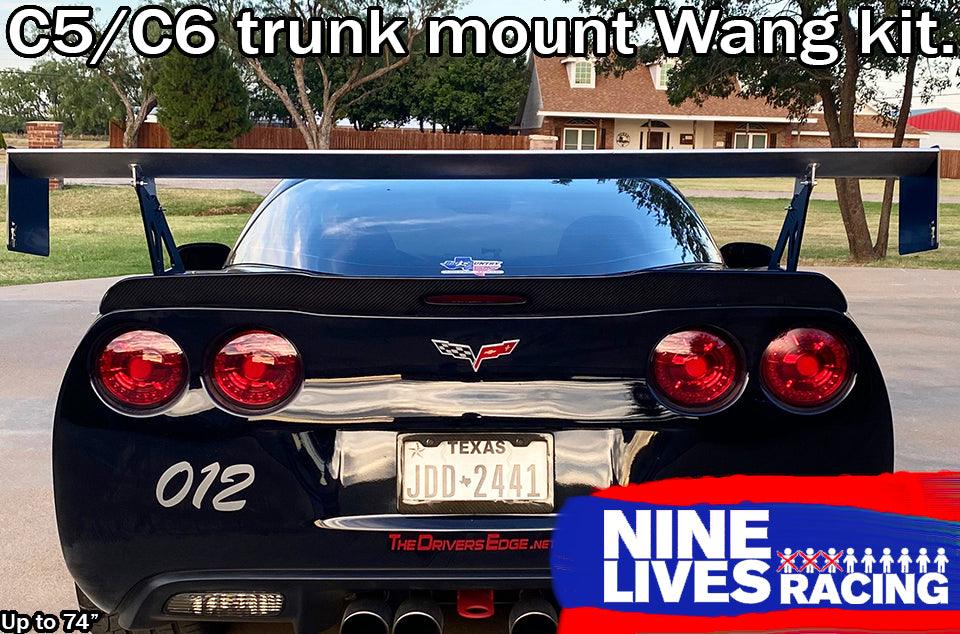
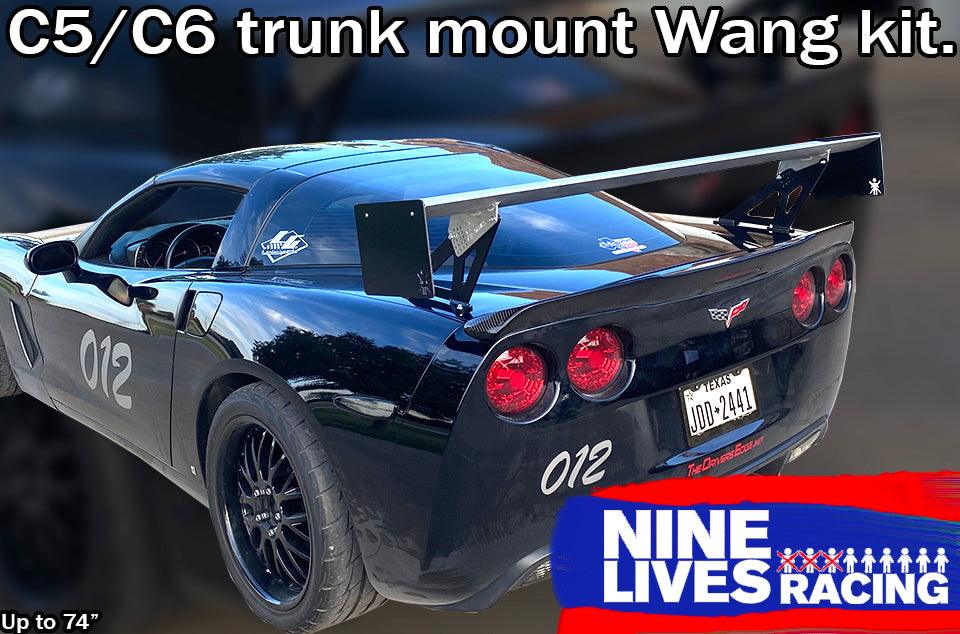
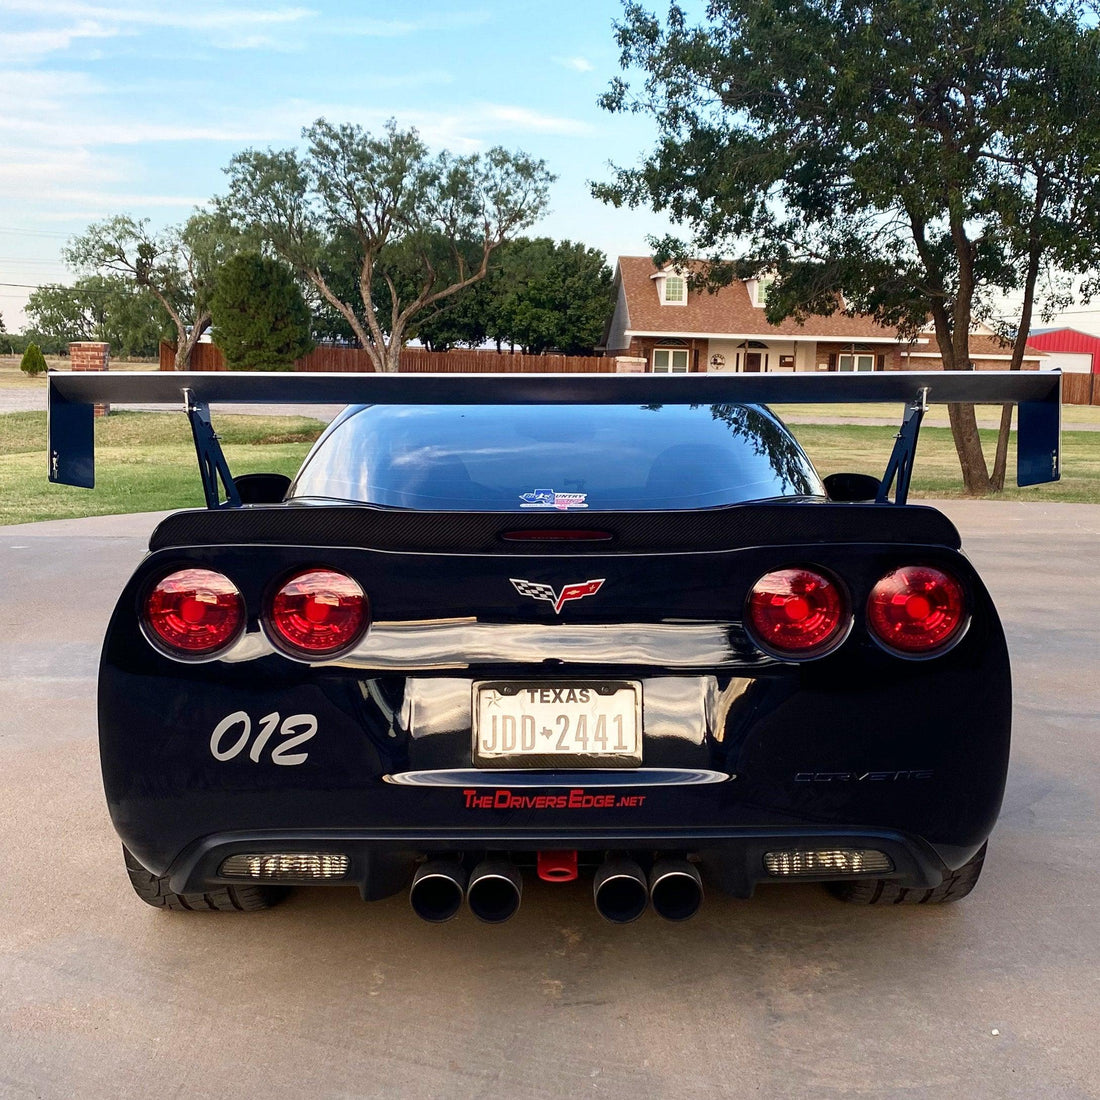
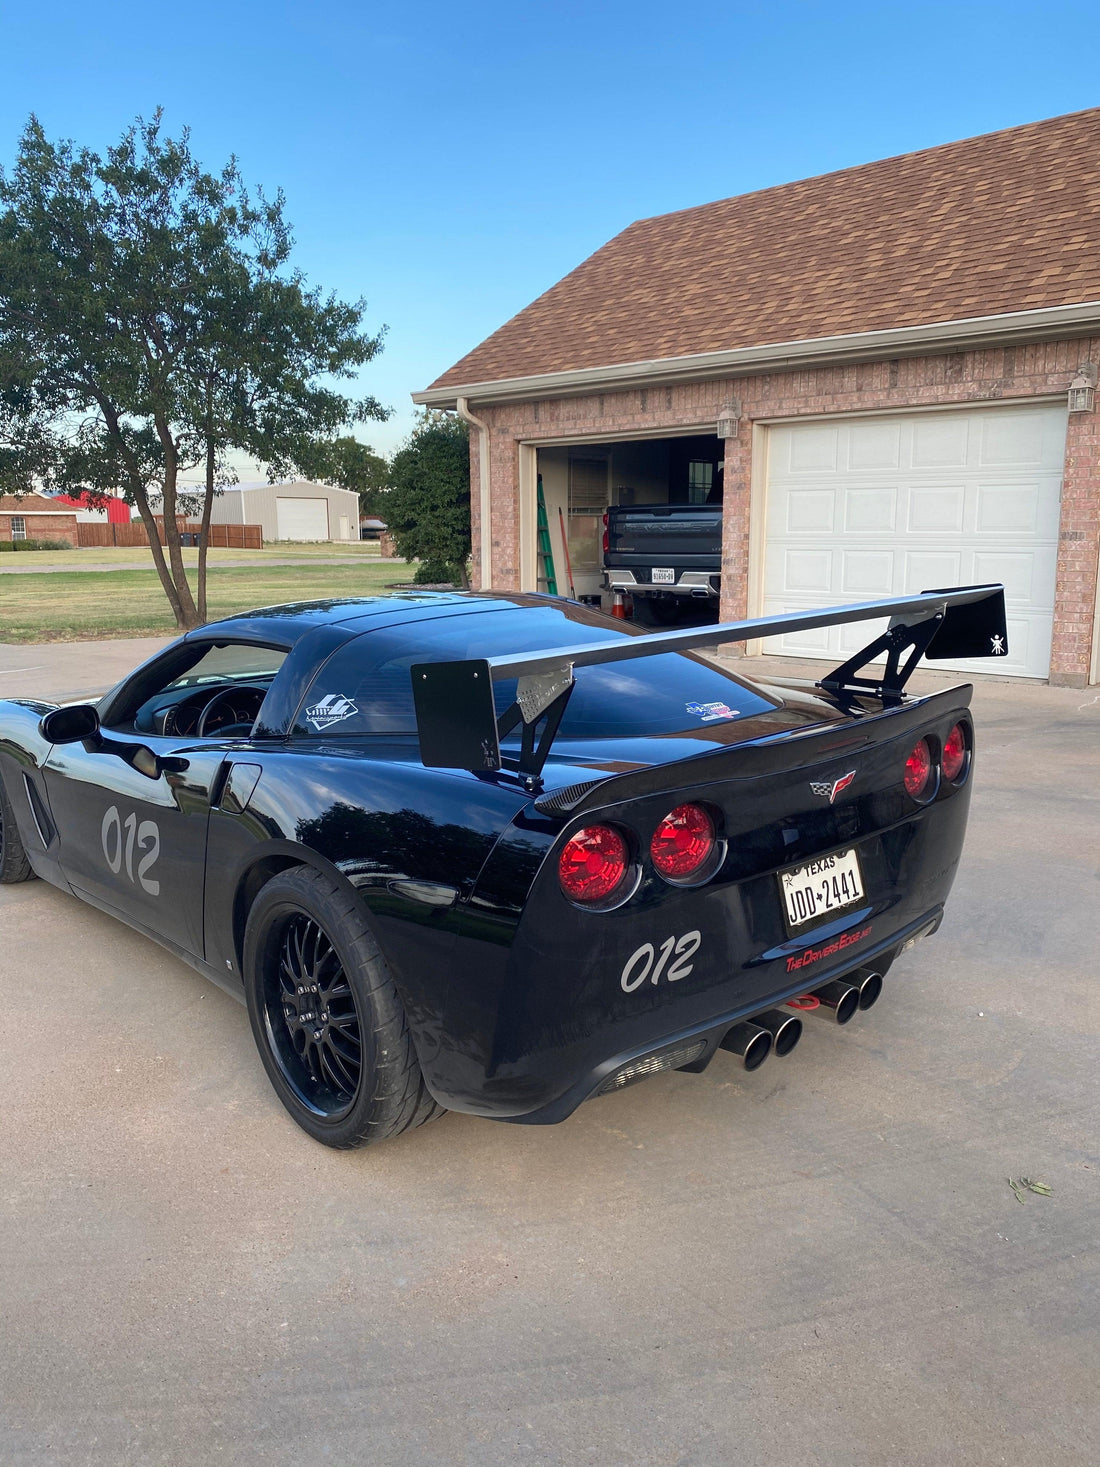
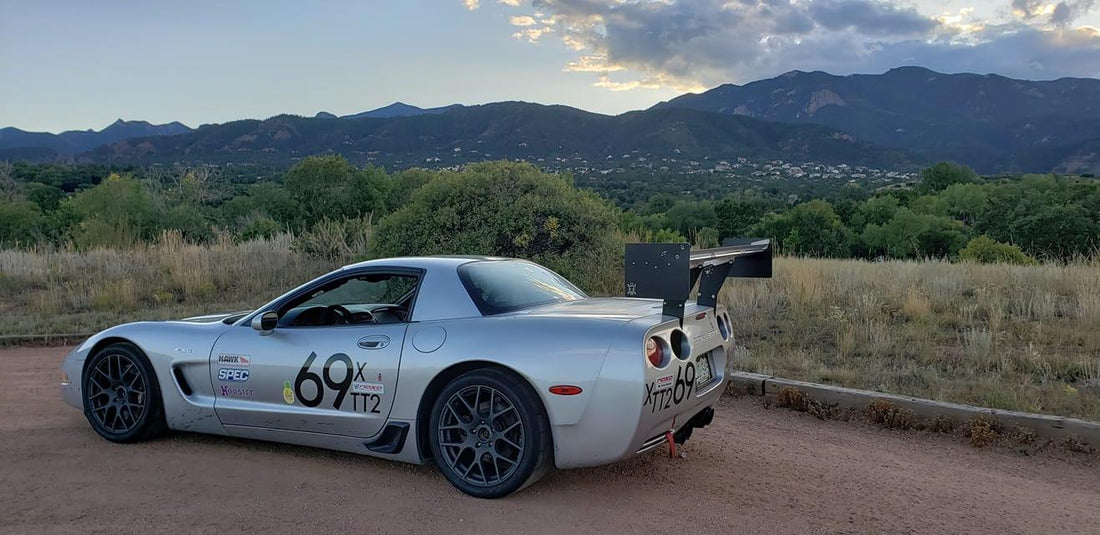
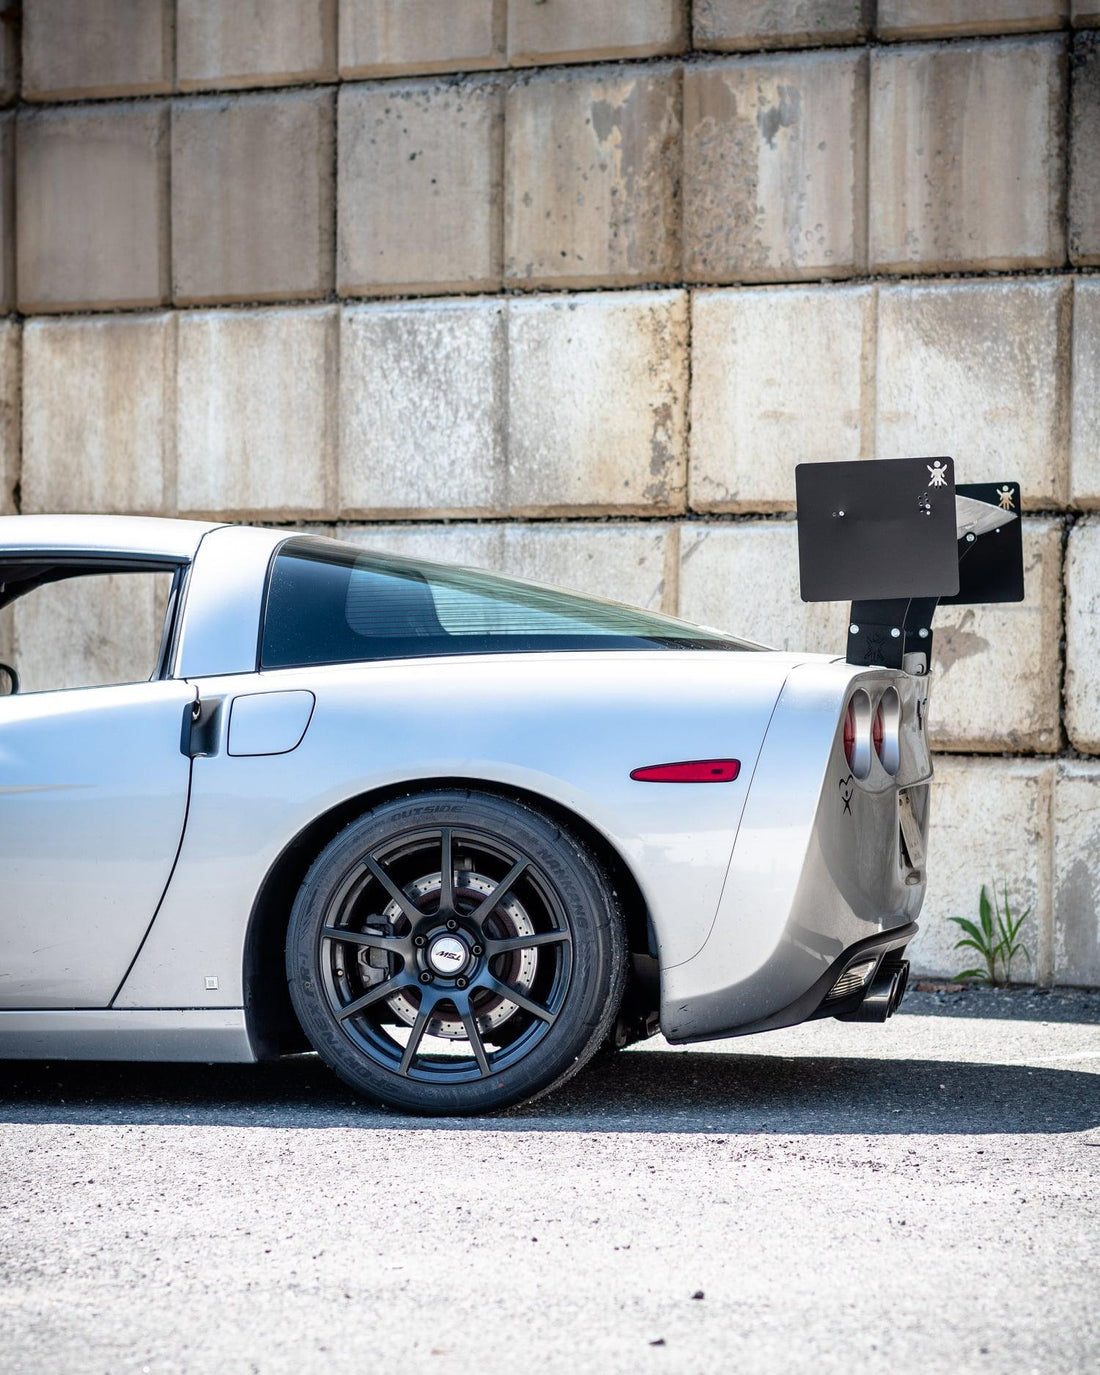
Step 11: Finished Look
Here are my final photos with the Big Wang installed. As you can tell I also applied the “Wang Skins” protection to the wing and did not include that install in these instructions because there is a YouTube video on how to do it. I followed it and worked out perfectly.

So. . . as you can see, the gaps are too large for my liking. When I did my measurements, I didn’t take into account that the bolt heads probably won’t touch the trunk lid when closed. In hindsight I believe you can reduce the amount of trimming of the trunk lid by a 1/4” or more. Use your best judgement here. Take your time with this and it will payoff.
Track Notes:
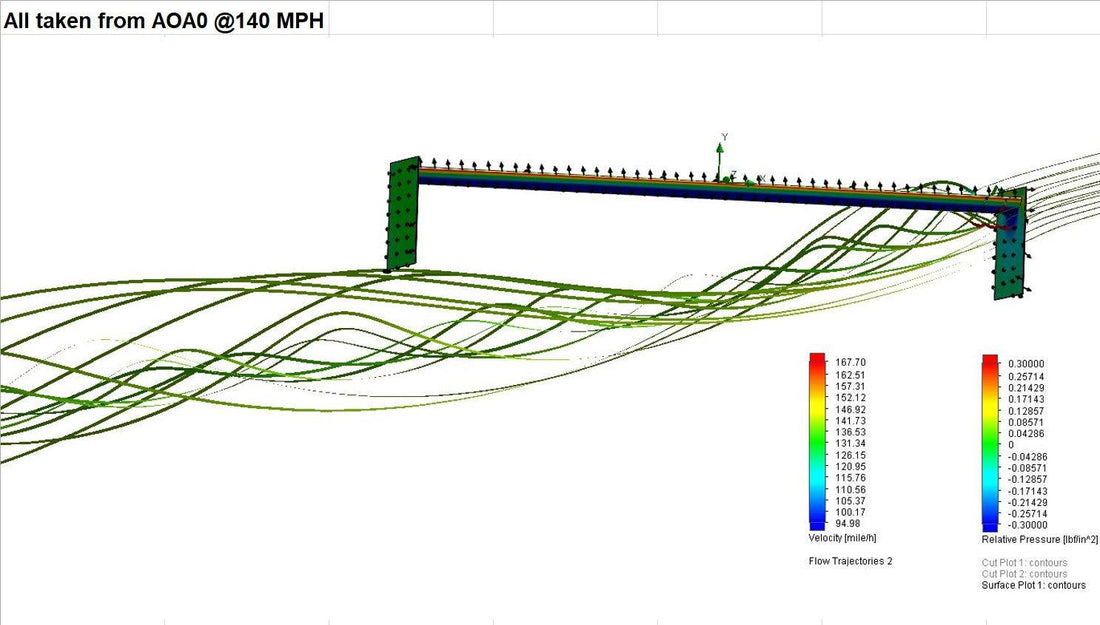
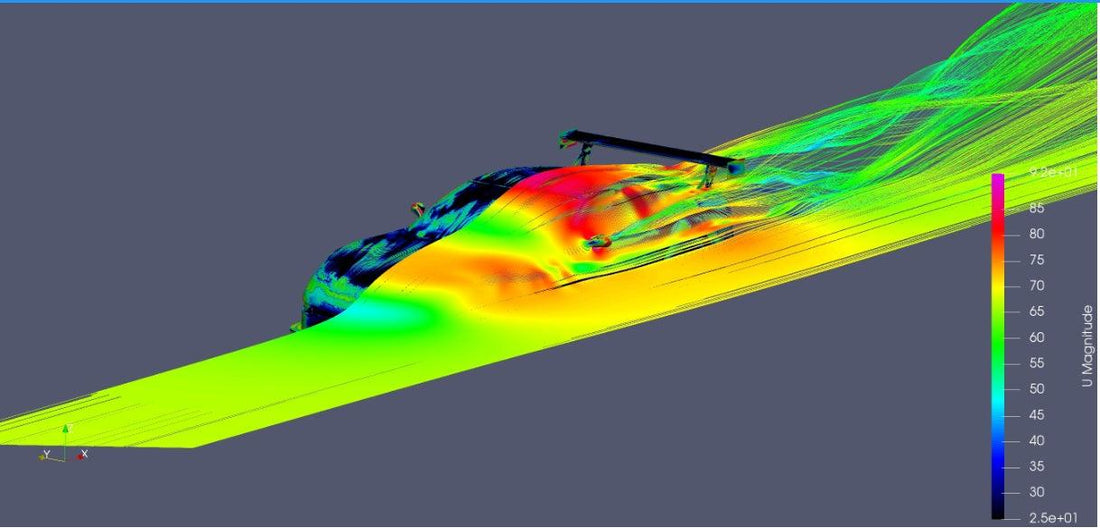
If you are planning on adding the Big Wang to your Miata and you are using it for track events (HPDE) or racing, you might want to consider adding a splitter to the front. I have the Track Dog Racing front splitter and feel it is under-sized for the amount of downforce the Big Wang produces (I’ll add canards soon to see if the helps). In my first track event after installing the Big Wang, I encountered under-steer in some or the lower
speed corners. However, I picked up 5 mph in a high speed turn and now exit that turn at 100 mph ! ! ! Just remember balance is the key.
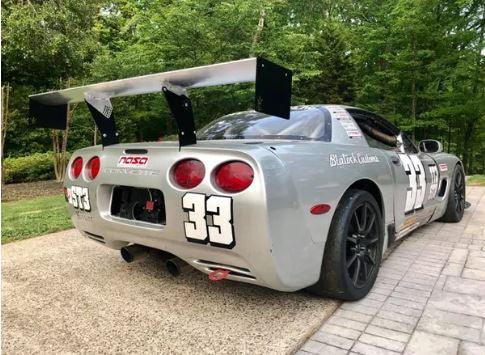
Here are the final shots of my car with the Big Wang installed.
