


Install/How-To/Blog
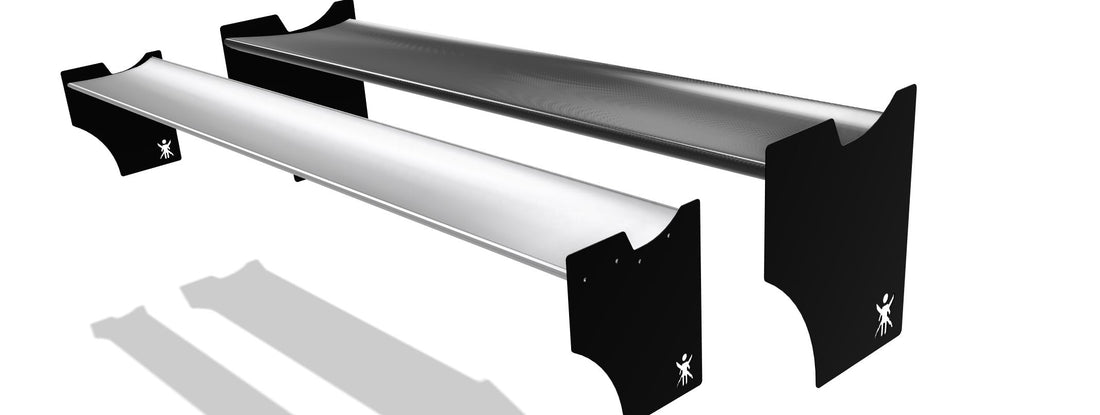
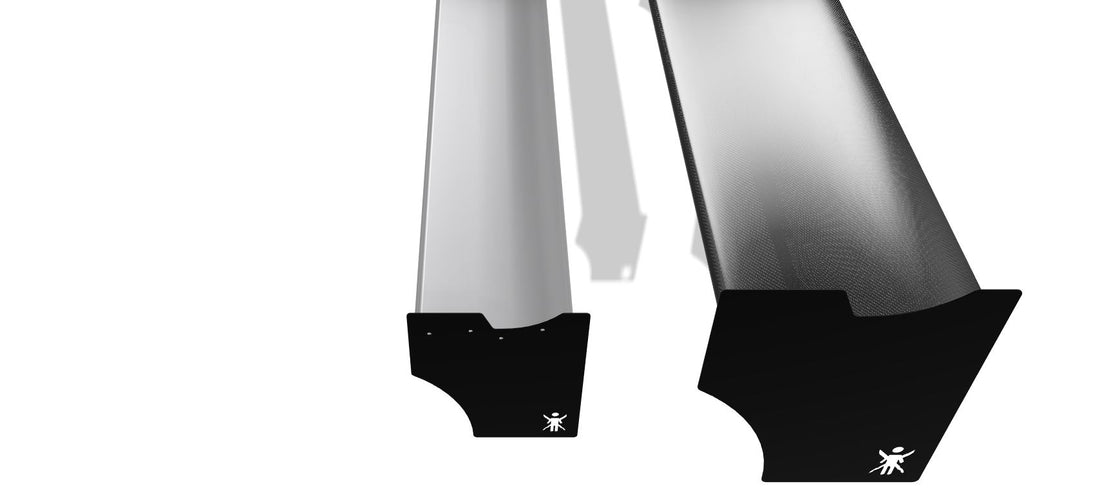
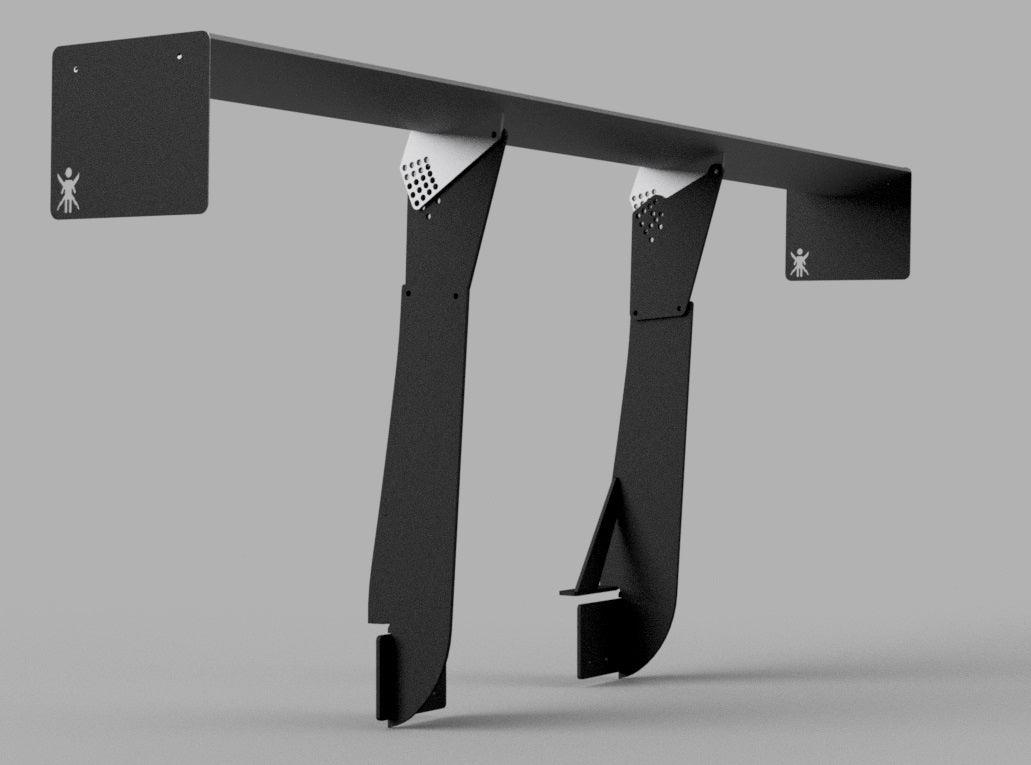
NC Miata Sturdy Boii Installation
NC Miata Sturdy Boii Installation
Karl Hertel was kind enough to take on installing these Sturdy Boiis and sending over an install guide to us!
Tools required
10MM socket
11MM socket
10MM wrench
19MM socket (or appropriate size for your lug nuts)
Breaker bar or impact wrench
Torque wrench
Plastic clip removal tool
Low profile jack
Jack-stands
Wood or ramps to set car on after install
Phillips head screwdriver
Optional for splitter creation
Center Punch
Drill with assorted drill bit sizes
Dremel or cut off wheel with metal cutting blade
Jig saw
Safety glasses
Painter (blue) tape
Marker/Sharpie
½” Birch Plywood
Splitter Coating
Scissors
Sharpie
Sandpaper
Step 1: Organize the parts from the kit
Remove all of the parts from packaging and verify that all parts have been included.
(2) Upper mount
(2) Lower mount
(2) Flat backing plates
(2) Curved thicker mounting plates
(20) Bolts
(12) Splitter nuts (T-nut)
(4) Flange Nuts
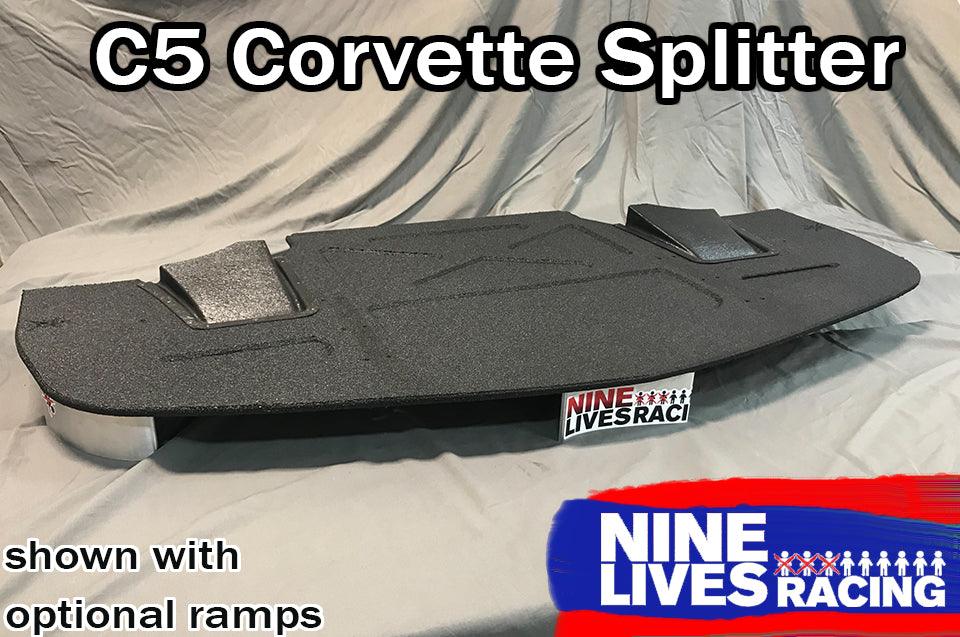
(Optional) Step 2: Make the splitter
I made my splitter out of ½” Birch plywood using the template in photo 1. The template can be purchased from Nine Lives Racing. Other materials can certainly be used, but the cost and durability of wood makes it a great option! Making the splitter and installing it to the car can easily be done in a day. However, if you want to take your time and allow the paint or other coating sufficient time to dry, I recommend making the splitter one day and then installing it the next.

Photo 1
Cut out the template and use painters tape to secure the paper to the plywood. Mark the outside edge of the splitter using a sharpie. Use the center punch, or some other marking device, to transfer the 12 mounting holes to the wood. Cut out the silhouette using the jigsaw from the sharpie outline you marked out earlier (Photo 2). Sand the edges to remove any splinters.

Photo 2
Drill the holes for the bolts using the smallest drill bit possible that will still allow the bolt to fit through the splitter. Drop the bolts into the top side of the hole and thread a T-nut to the opposite side. The teeth of the T-nut should be pointing upwards towards the bottom of the wood. As you begin to tighten the bolt the T-nut will embed itself into the wood creating a permanent fastening feature (Photo 3). Repeat this step for all 12 holes and then remove the bolts. I used a cutoff wheel to trim the bolts shorter but that is optional.

Photo 3
The last step of the splitter creation process is to coat the bare wood. There are several options but besides doing it for “looks”, the primary goal should be protecting the wood from moisture. I used truck bed liner (photo 4) from the auto parts store for about $12, but there are many other options. Mask the T-nuts to make sure the threads are not covered in over spray!

Photo 4
Step 3: Lift car and remove wheels
We will need the front of the car in the air to before we can begin. If you are using a breaker bar to loosen your lug nuts do that now. We will remove them completely when the car is in the air. Use the single jack point, on the sub frame, in the center of the car to get jack stands on the forward pinch welds. My car is already lowered, and I needed to drive up onto a few boards to get the jack in place. Set the handbrake and make sure the car is stable before continuing (Photo 5).

Photo 5
Once the car is lifted in the air, remove the lug nuts and wheels from each side.
Step 4: Remove under tray and front wheel arch plastics
I made this guide after these parts had already been removed, so I do not have a step-by-step guide for each fastener. There are many plastic pop rivets, random bolts, and a few Phillips screw heads securing these parts. Grab your tools and remove each of these fasteners. Just when you think you have found
them all you will probably find 2 or three more!! The splitter will take the place of the under tray and I chose to not re-install the inner wheel arches.
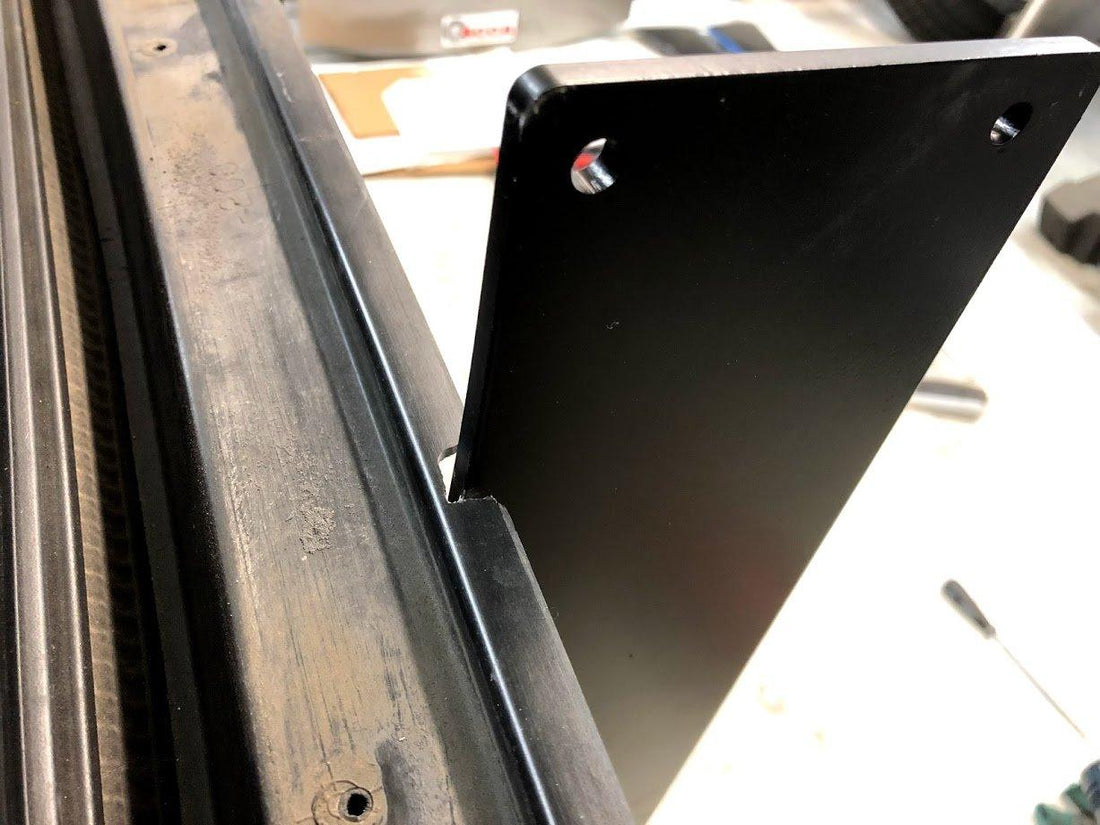
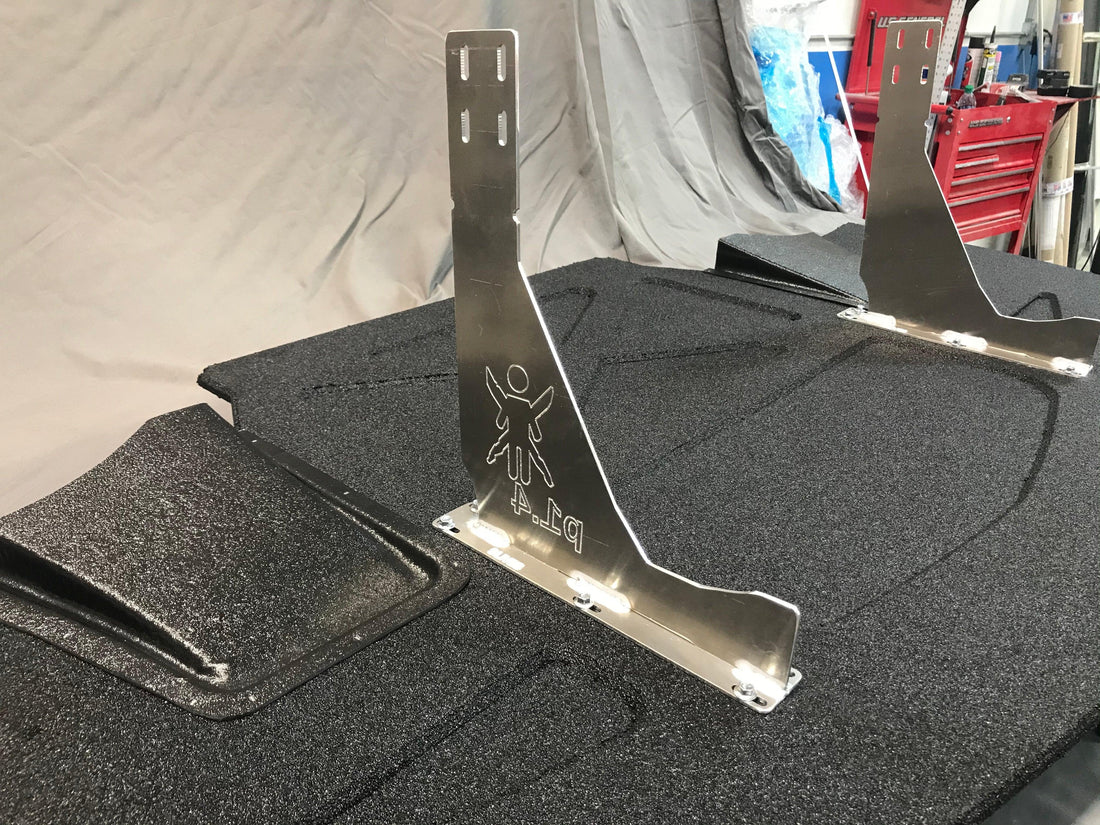
Step 5: Install the upper mounts
Grab the shorter upper splitter mounts. These will install in factory locations on the chassis. The reference pictures below are from the driver’s side and show the mounting points in detail (photo 6). Mounting location #1 uses a nut in the body of the car plus a bolt provided in the Sturdy Boii kit. Mounting location #2 uses a fender nut and bolt already on the car.
Remove the fender bolt and position the splitter mount between the body and fender (photo 6). Carefully thread the bolts in position #1 and #2 by hand to avoid cross threading. I recommend starting
to thread the bolt in the #1 location first, since the part is slotted, leaving it loose to adjust for Location #2. Finish torquing the bolts when both are fully seated.

Photo 6
Repeat this process on the passenger side to install the other upper mount.
Step 6: Mounting lower brackets to the splitter
Starting on the drivers side, position the lower bracket as shown in Photo 7 below. Grab the 6 bolts that you used earlier, when installing the T-nuts, and start hand threading them into place. Only start the bolts and do not tighten them!! The clearance on the lower brackets were tight enough that I had to spin the bolt to help drop them down into the T-nuts. After all 6 bolts are started they can be fully tightened.

Photo 7
Repeat this step on the passenger side to complete all sub assembly needed on the splitter (photo 8).

Photo 8
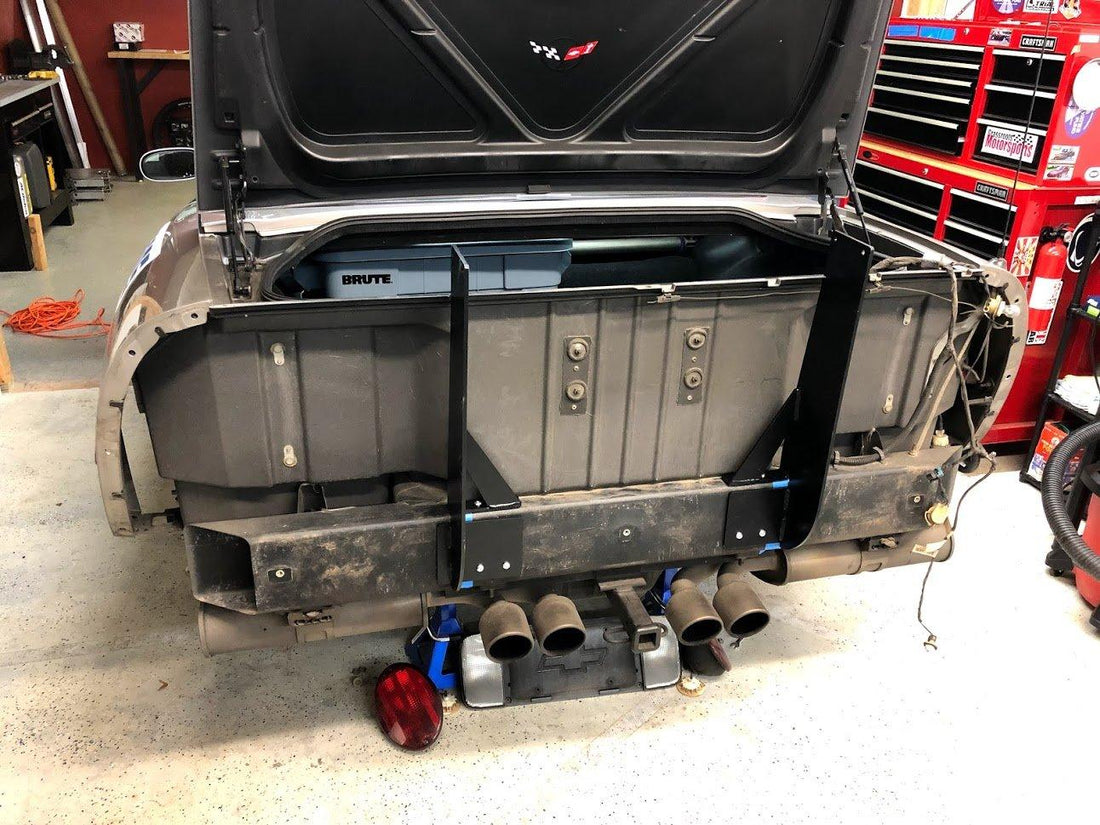
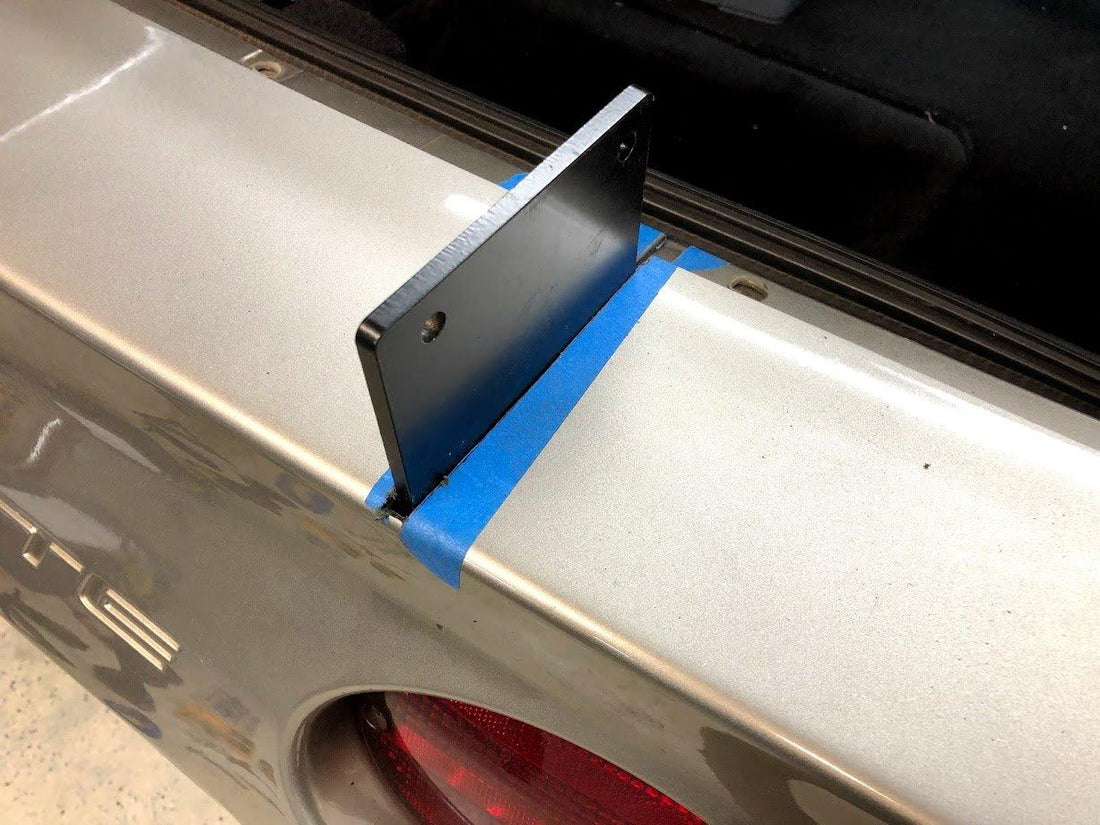
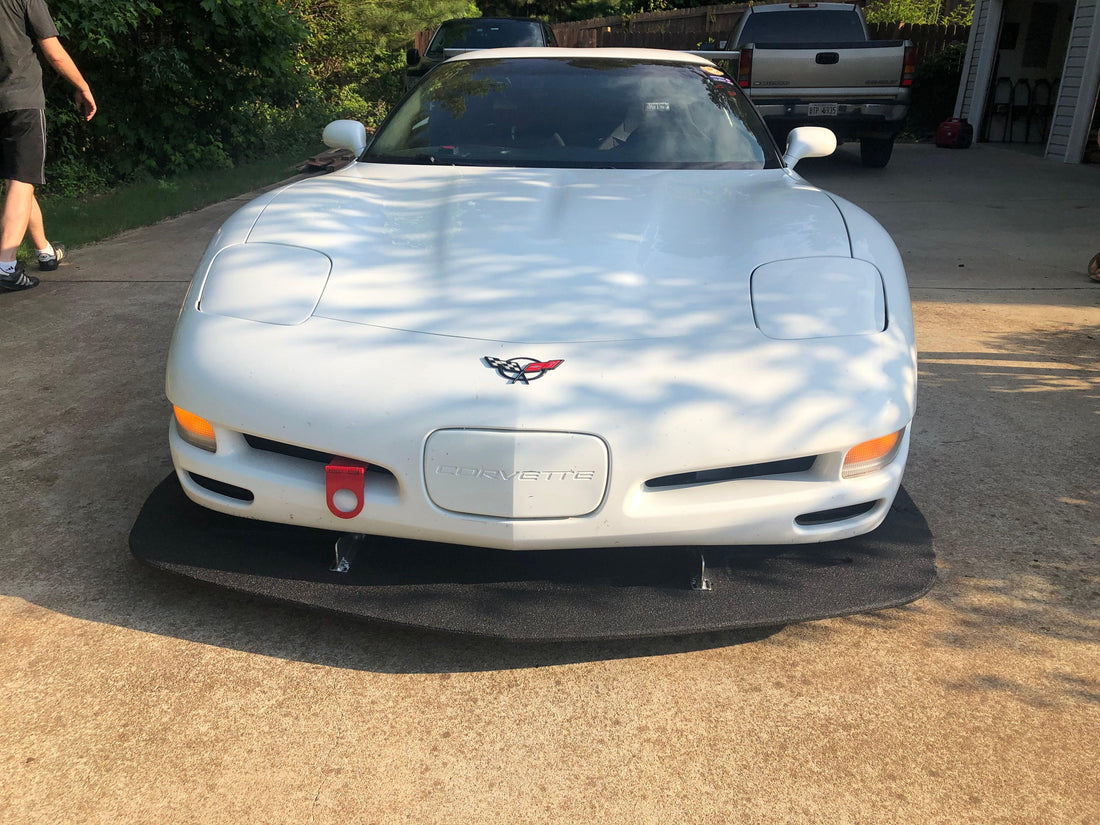
Step 8: Mounting the splitter to the car
Position the jack under the car to help you lift the splitter into position. Put the splitter on the jack and start raising it into position. The lower brackets should be positioned on the inside of the upper brackets already mounted to the car. Raise the jack and splitter until the holes on the upper and lower mounts are roughly lined up. A friend or second pair of hands helps in this step (Photo 9).

Photo 9
Start the bolt in the forward slotted hole shown in the picture below but leave it loose allowing the splitter to rotate (Photo 10). Start the bolt on the passenger side also.

Photo 10
The rear 2 holes set the overall height of the splitter. Determining which combination works for your application may take some trial and error. I set mine higher because I often street drive the car to the track. On the drivers side, position the two mounting plates as shown in the picture below (Photo 11). The curved backing plate will fit into the lower splitter mount similar to a puzzle piece. This is shown
with the green highlight in Photo 11.

Photo 11
Photo 12 shows further detail of how all the parts fit together. While you are attempting to line everything up, leave all of the fasteners loose!! Insert the bolts on the drivers side and then repeat the process on the passenger side. Continue to use the jack to help shift the splitter into the correct position. You may even need to loosen up the bolts that attach the lower mounts to the wood to get a little extra movement.

Photo 12
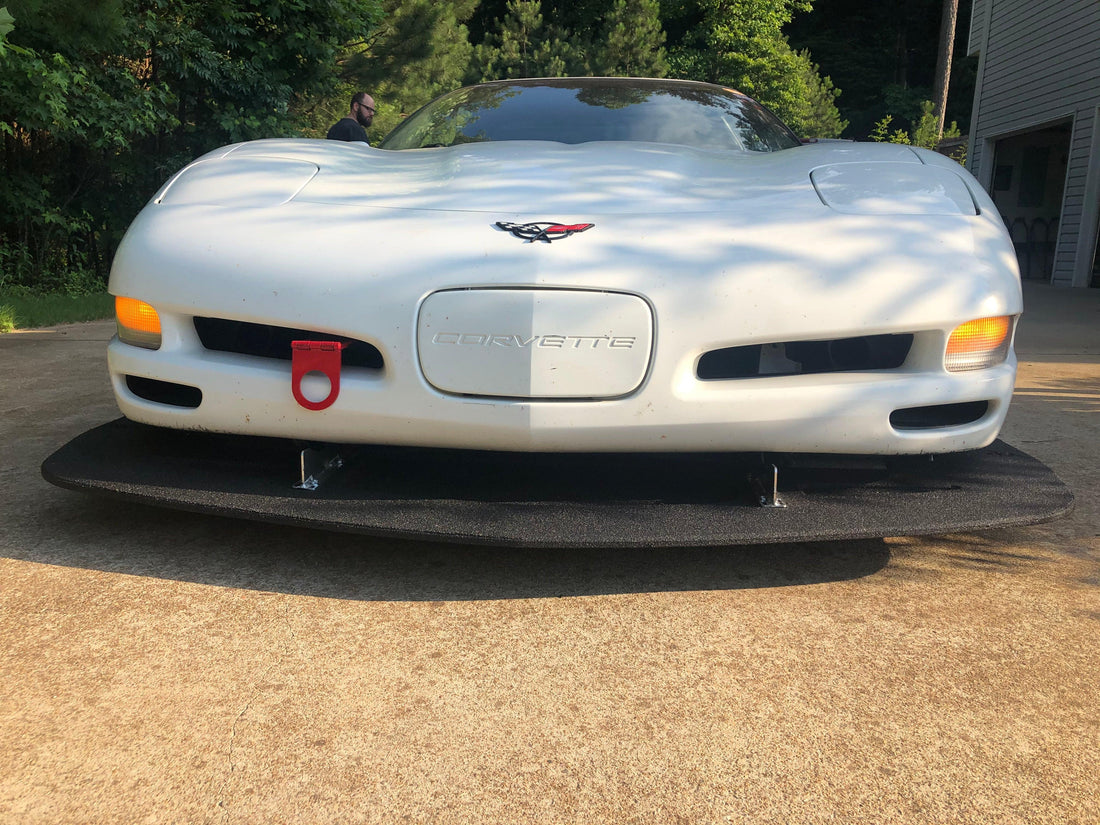
After all of the fasteners are loosely installed tighten the 2 rear bolts and nuts. Use the jack to adjust the angle of the splitter before the front bolt is tightened. Once the splitter is level, tighten down the forward bolt. Make sure all 3 fasteners on each side are tight.
Step 9: Getting the car back on the ground
It is very easy to damage the splitter in the next step. Most likely there will no longer be enough clearance under the car for the jack with the new splitter. Follow these simple steps to avoid damage.
Make sure everything is cleaned up under the car and the wheel wells are clear. Re-install both front wheels and move the jack to the center jack point on the sub frame. Place your boards or ramps under the tires of the car approximately where the car will come to a rest. I used a 2X6 plus a 2X4 piece of wood stacked on each side. Raise the car and remove the jack stands. Begin lowering the car making sure the tires land on the elevated surface created by the ramps or wood. Monitor the car as it comes down to make sure no damage occurs to the splitter. Lower the jack completely and remove it. Torque the lug nuts and drive the car off the wood to admire your work!!

Photo 13
(Optional) Step 10: Make an air dam
If you want to make an air dam to seal the splitter to the bumper you can now take the measurements needed for that now. There are many options for mounting and materials that can be chosen from. I used a set of L-brackets with rivets and rubber material I found at the hardware store. I only sealed the outside edge leaving the lower intake of the bumper open. Total cost was probably around $10.
Additional Notes
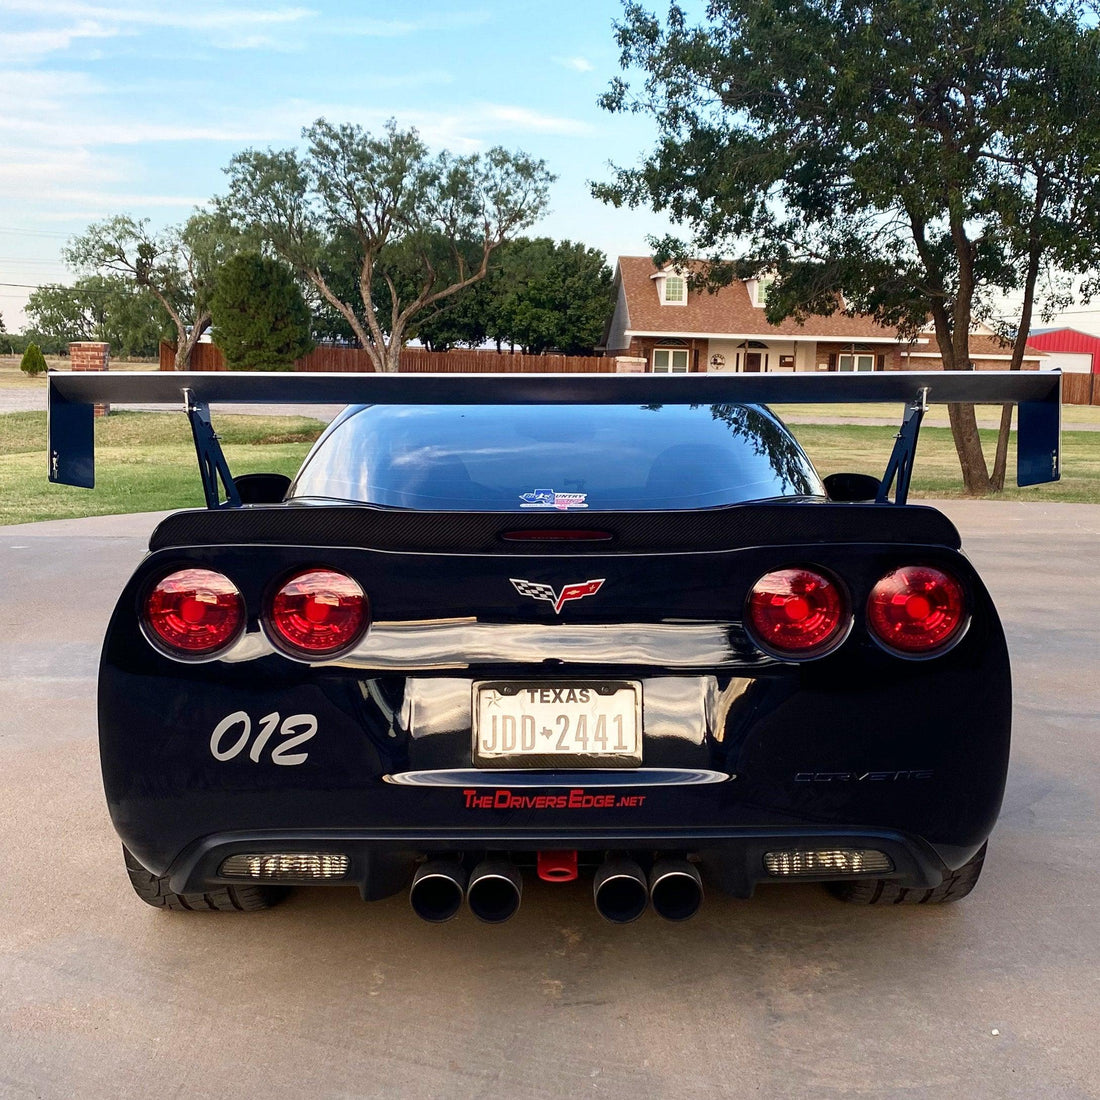
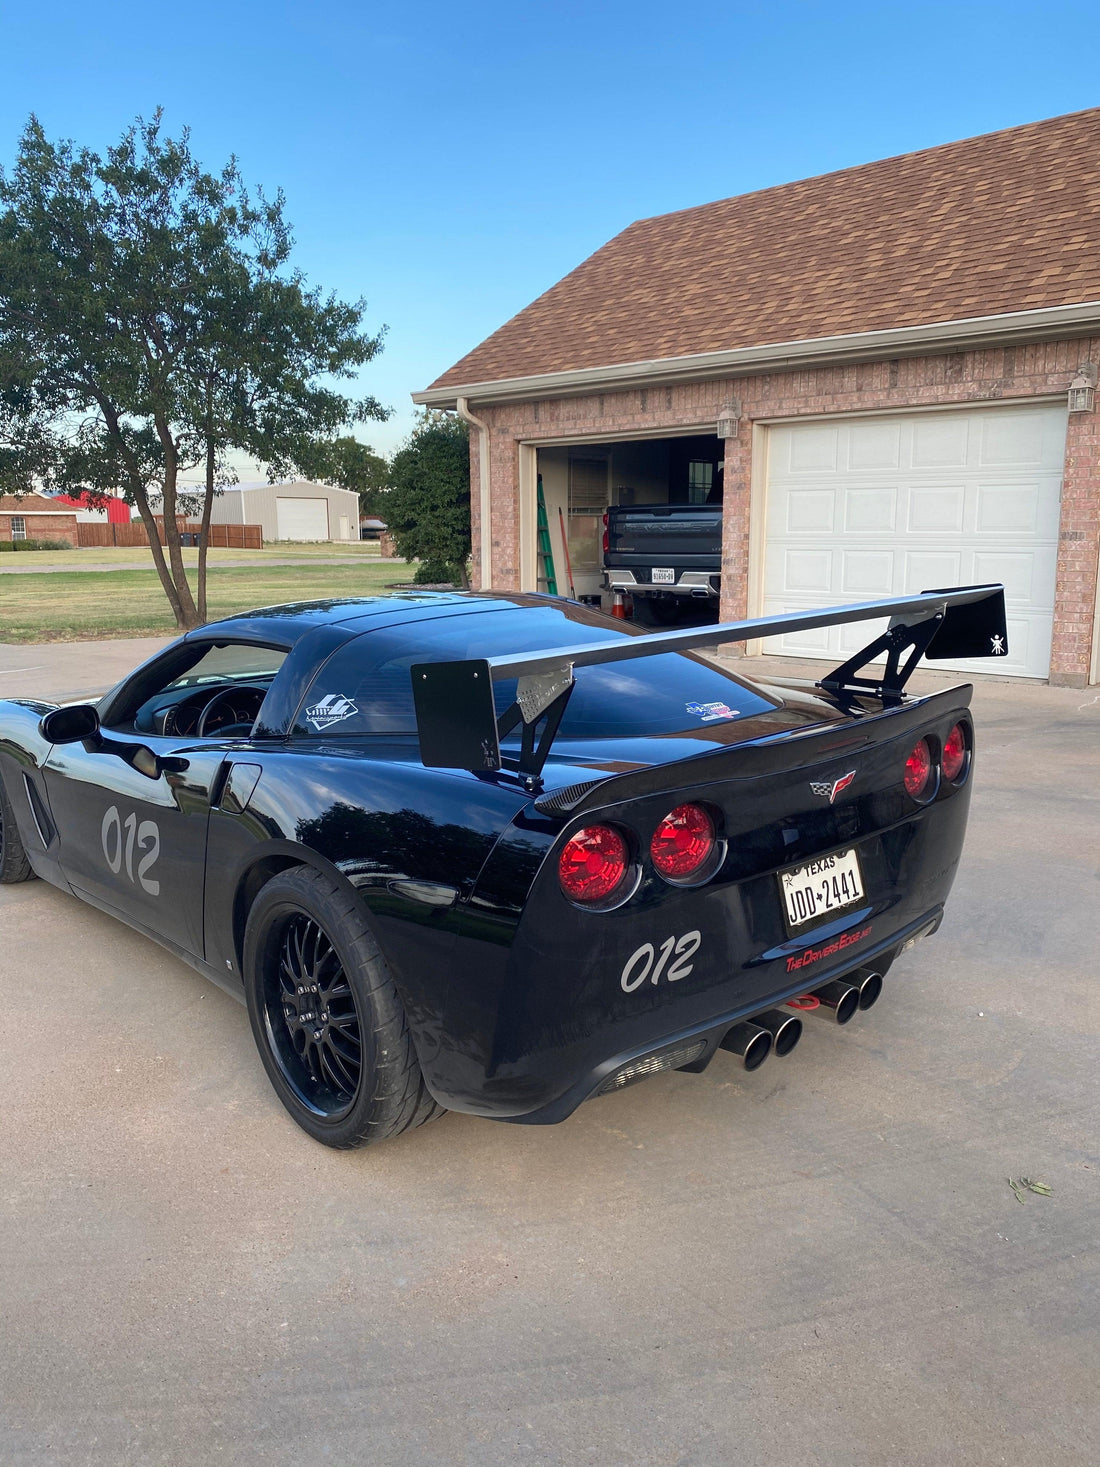
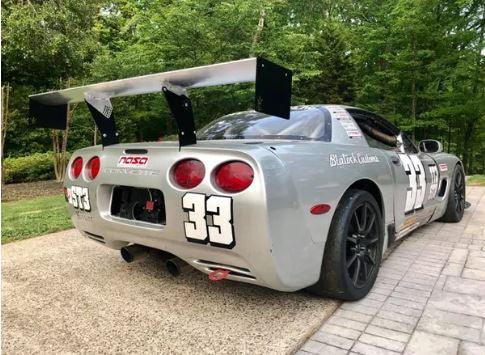
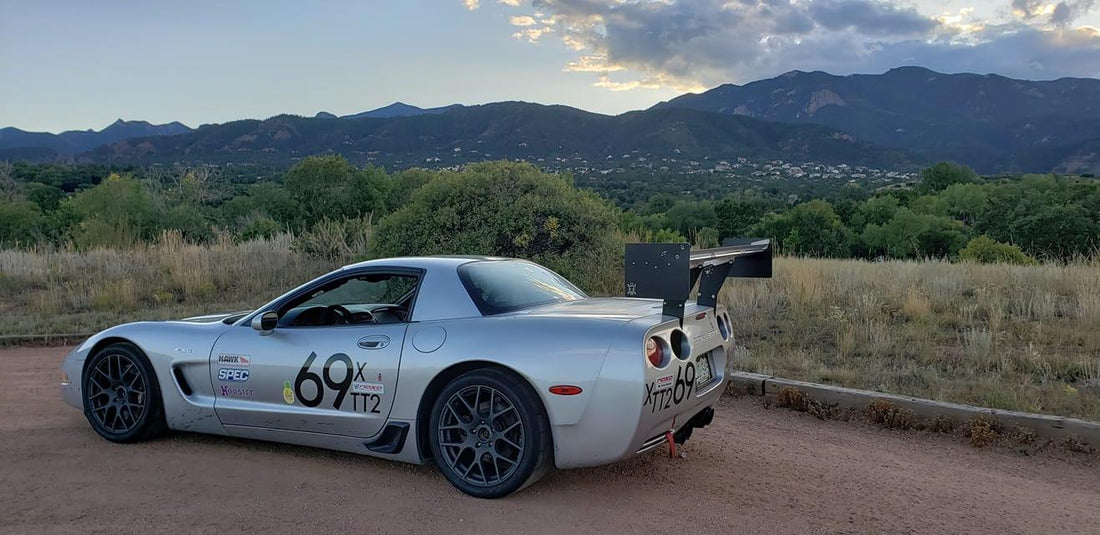
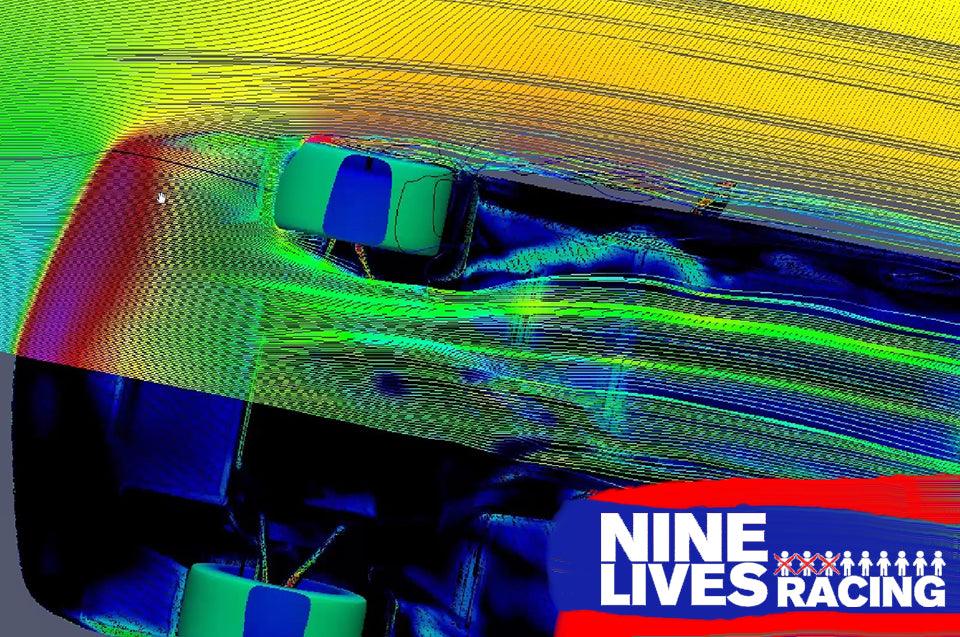
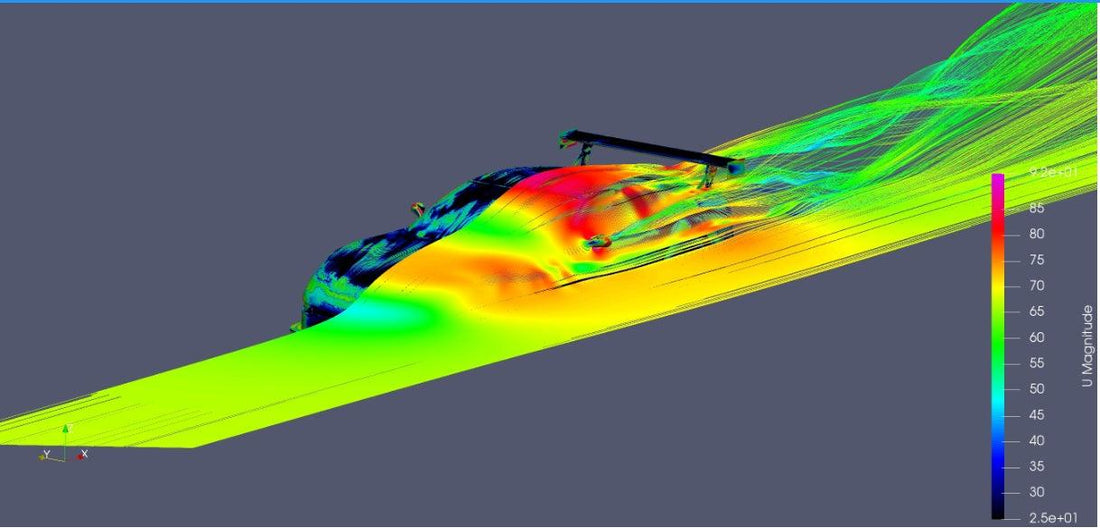
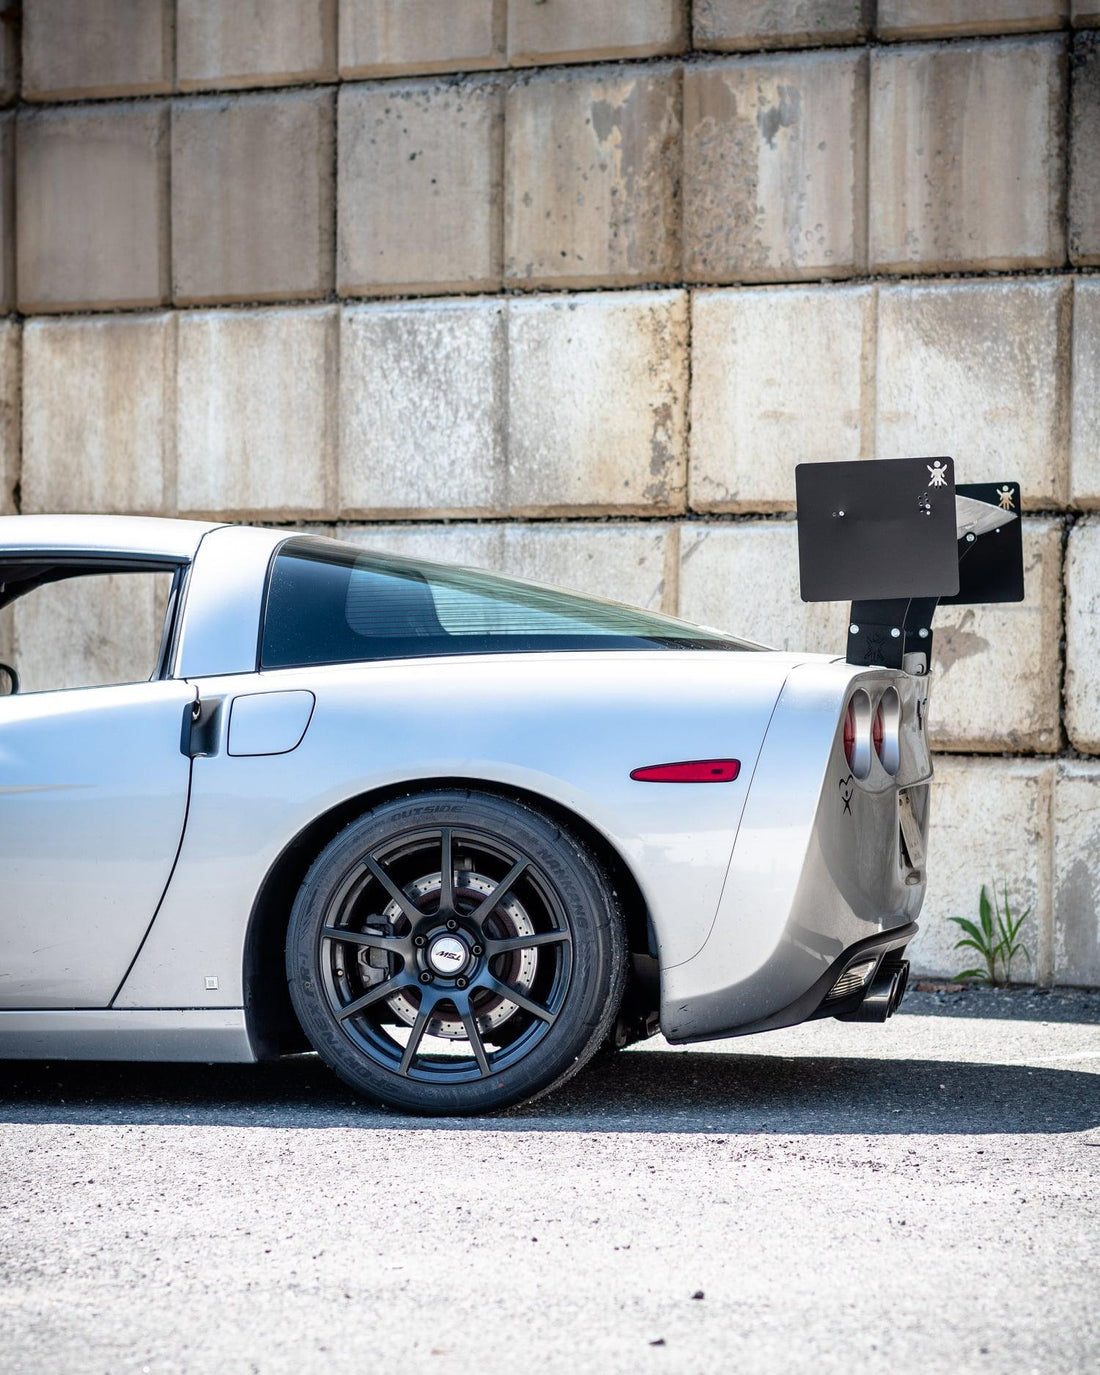
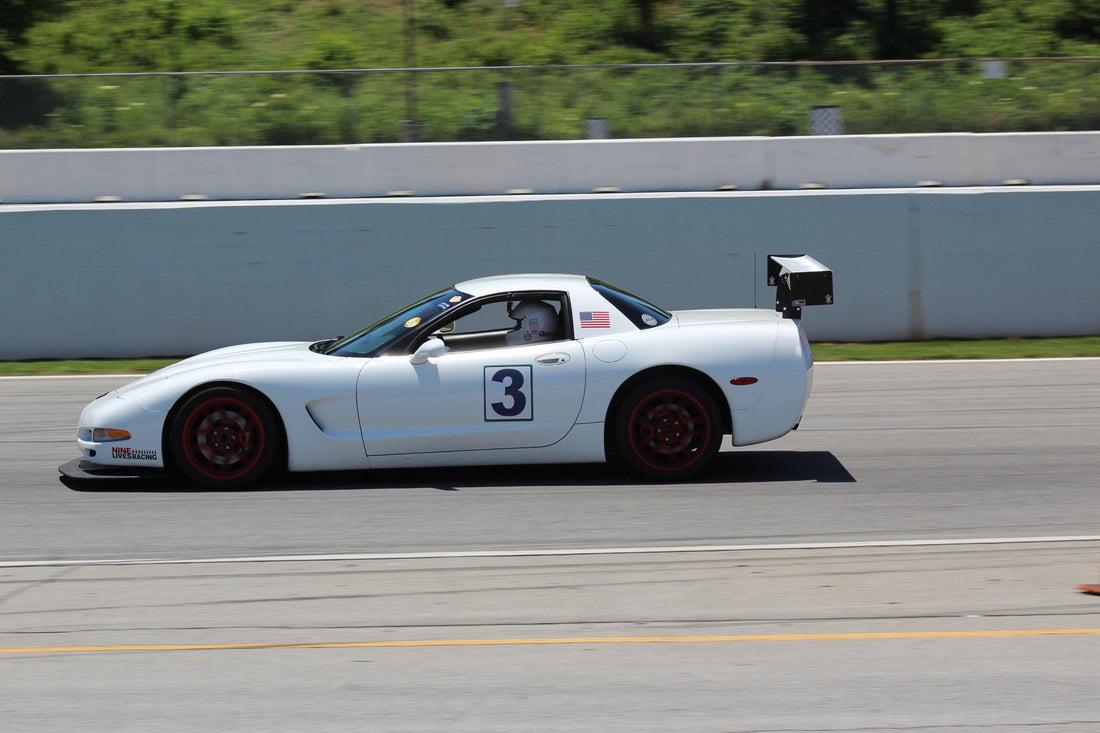
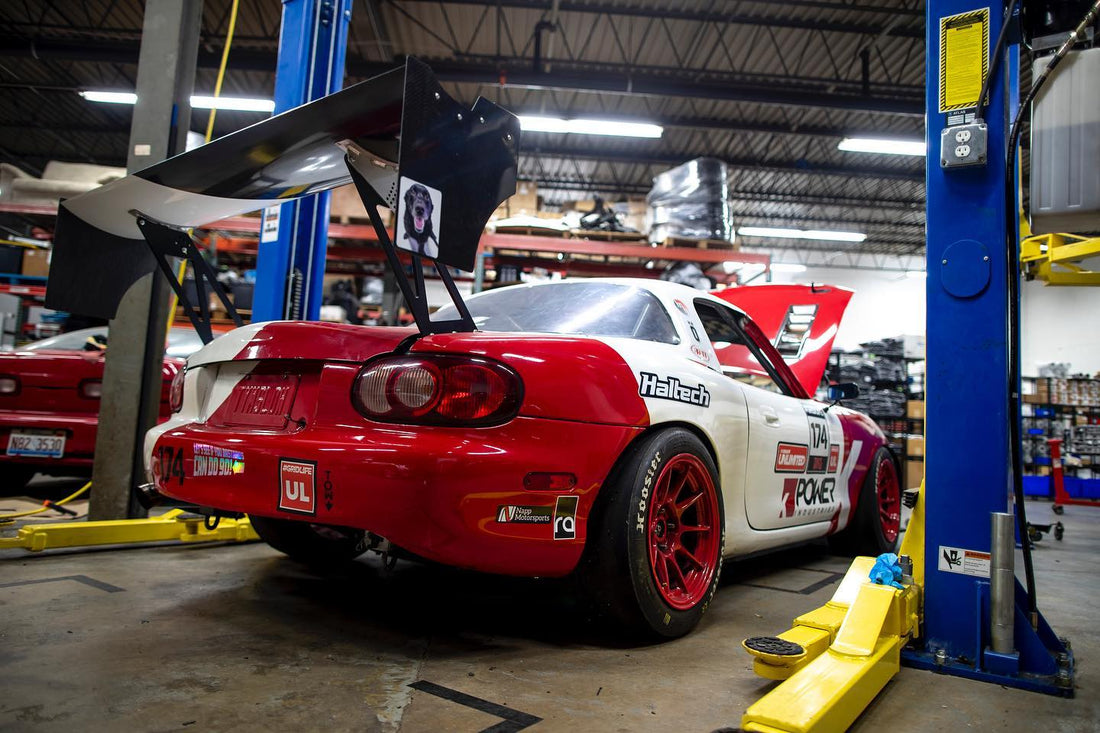
If you are adding the splitter to your NC and are using it for track use, I highly recommend pairing it with a wing as well!! With only the splitter, the car will pick up much more over steer. The full Nine Lives aero package had a dramatic impact on my cornering speed and the ability to apply the throttle earlier.
Here are a few action shots of the car on track competing in the TT5 class with NASA. The Nine Lives aero products have been a significant factor in the car, and I reaching the podium on many occasions!!
